
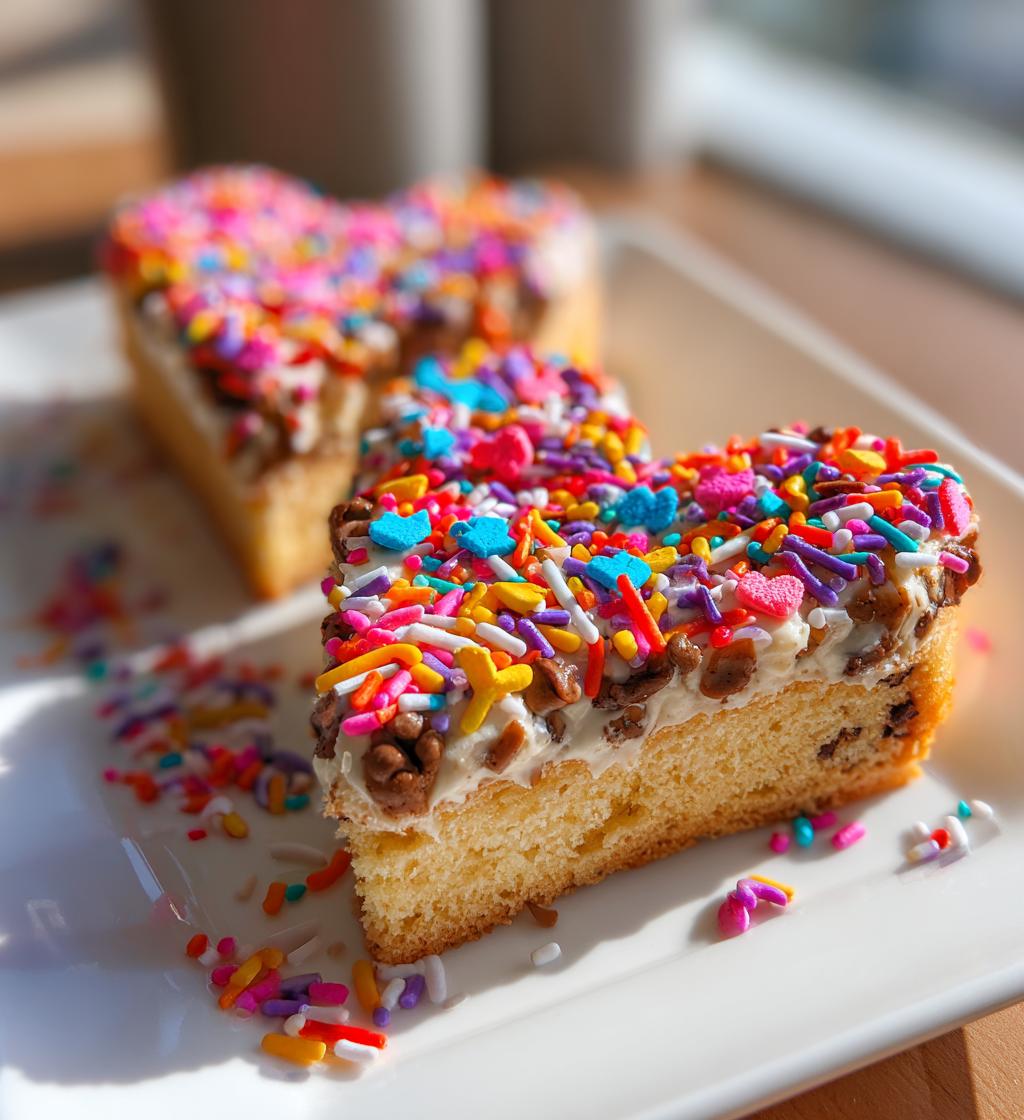
There’s something truly magical about baking for Valentine’s Day. It’s not just about whipping up delicious treats; it’s about pouring love into every mix and every sprinkle! I can still remember the first time I baked something special for my partner. The kitchen was filled with sweet aromas, and as I pulled those chocolatey wonders out of the oven, I felt my heart flutter with excitement. These valentines baking ideas are perfect for sparking creativity and making memories that last a lifetime.
Whether you’re crafting heart-shaped cookies or decadent chocolate cake, each recipe is a chance to express your affection. I love how you can get playful with decorations—think colorful icing, glittery sprinkles, or even edible flowers that make everything pop! It’s a fun way to show your loved ones just how much they mean to you. Plus, the joy of sharing freshly baked goodies brings everyone together. So, roll up your sleeves and let’s dive into these delightful baking ideas that will surely win hearts and taste buds this Valentine’s Day!
Ingredients List
To create these delicious treats, you’ll need a few simple ingredients that come together beautifully. Here’s what you’ll need:
- 2 cups all-purpose flour
- 1 cup granulated sugar
- 1/2 cup unsalted butter, softened
- 2 large eggs
- 1/2 cup milk
- 1 tsp vanilla extract
- 1/2 cup unsweetened cocoa powder
- 1 tsp baking powder
- 1 tsp baking soda
- 1/4 tsp salt
- 1 cup chocolate chips
Make sure your butter is softened to room temperature for easy mixing. I like to take it out of the fridge about 30 minutes before I start baking. It makes a world of difference when you’re creaming it with sugar! And don’t forget to have fun with it—this recipe is super forgiving, so you can get creative with the chocolate chips or even add a splash of your favorite extract for a personal twist!
How to Prepare Instructions
Now that you’ve gathered your ingredients, let’s get started! Baking is all about precision and timing, so follow these steps for delicious results.
Preheat and Prepare
The first step is crucial: preheat your oven to 350°F (175°C). This ensures that your treats bake evenly and rise just right! While the oven is warming up, grab your baking pan and grease it well. I like to use a bit of unsalted butter or cooking spray to make sure nothing sticks. A quick tip? If you’re using a rectangular pan, line the bottom with parchment paper for easy removal later on. Trust me, it’s a lifesaver!
Mixing the Ingredients
Once the oven is preheated, it’s time to mix! Start by creaming together the softened butter and sugar in a large bowl. Use a sturdy wooden spoon or an electric mixer—whichever you prefer. Beat the mixture until it’s light and fluffy, which usually takes about 2-3 minutes. This step is important as it incorporates air into the batter, giving your baked goods that lovely texture. Then, add the eggs one at a time, mixing well after each addition. This helps to create a smooth batter. Finally, stir in the milk and vanilla extract—let those flavors mingle!
Combining Dry and Wet Ingredients
In another bowl, whisk together the flour, cocoa powder, baking powder, baking soda, and salt. This step is key for even distribution and helps avoid clumping in your batter. Gradually add this dry mixture into the wet ingredients. I like to do this in three parts, starting and ending with the dry ingredients. Just gently mix until everything is combined—don’t overdo it! A few flour streaks are perfectly fine.
Adding Chocolate Chips and Baking
Now for the fun part: fold in those chocolate chips! Use a spatula to gently mix them into the batter, ensuring an even distribution throughout. This way, every bite will be a chocolatey delight! Once that’s done, pour the batter into your prepared baking pan. Bake in the preheated oven for about 25-30 minutes. To check for doneness, insert a toothpick into the center. If it comes out clean or with a few moist crumbs, you’re good to go! Let the pan cool for a few minutes before transferring the treats to a wire rack. Patience is key here—allow them to cool completely before diving in!
Why You’ll Love This Recipe
- Quick Preparation: With just 15 minutes of prep time, you’ll have these treats baking in no time! It’s perfect for last-minute Valentine’s Day surprises or cozy baking days with loved ones.
- Delicious Flavor: The rich chocolate flavor combined with the sweetness of sugar and a hint of vanilla creates a mouthwatering treat that everyone will adore. Trust me, each bite is a little piece of heaven!
- Customizable Decorations: Get creative with your decorations! You can use heart-shaped cookie cutters, colorful icing, or festive sprinkles to make each treat uniquely yours. It’s a fun way to express your love!
- Great for Sharing: These treats make perfect gifts for friends, family, or that special someone. A box of homemade goodies is a heartfelt gesture that speaks volumes!
- Fun Baking Experience: Baking together can be a delightful activity. Whether you’re with kids or friends, this recipe brings joy and laughter to the kitchen!
Tips for Success
Getting the best results from your baking is all about a few little tricks and tweaks! Here are some of my go-to tips to ensure your Valentine’s Day treats come out perfectly every time:
- Use Room Temperature Ingredients: Make sure your eggs and milk are at room temperature before mixing. This helps create a smoother batter and ensures everything combines well. If you forget to take them out ahead of time, just place the eggs in a bowl of warm water for about 10 minutes!
- Don’t Skip the Sifting: While it might seem tedious, sifting your dry ingredients like flour and cocoa powder can help break up any clumps and aerate the mixture. This little step makes a big difference in the final texture!
- Experiment with Add-Ins: Feel free to swap out chocolate chips for your favorite mix-ins! Nuts, dried fruit, or even a sprinkle of sea salt on top can elevate your treats to a whole new level. You could even try white chocolate chips or peanut butter chips for a twist!
- Adjust Baking Time for Your Oven: Every oven is a little different, so keep an eye on your treats as they bake. If you have a convection oven, they might cook faster, so start checking a few minutes early. Trust your instincts—if they look good, they probably are!
- Flavor Boosts: Want to amp up the flavor? Try adding a teaspoon of espresso powder to the dry ingredients. It enhances the chocolate flavor without making your treats taste like coffee. You can also infuse your milk with a bit of almond or coconut extract for a unique twist!
- Store Properly: To keep your baked goodies fresh, store them in an airtight container at room temperature. If you want to keep them longer, freeze them! Just wrap each piece tightly in plastic wrap and then place them in a freezer bag. They’ll taste just as good when you thaw them out!
With these simple tips, you’ll be well on your way to baking success this Valentine’s Day. Happy baking, and may your kitchen be filled with love and delicious aromas!
Variations
One of the best parts about baking for Valentine’s Day is the opportunity to get creative and customize your treats! Here are some fun variations to transform the basic recipe into something uniquely yours:
- Different Types of Chocolate: Instead of regular chocolate chips, try using white chocolate or dark chocolate chips for a different flavor profile. You can even mix them together for a delicious contrast! Or go for a chocolate swirl by adding melted chocolate to part of the batter and swirling it in for a marbled effect.
- Nutty Delight: Add some crunch by mixing in chopped nuts like walnuts, pecans, or almonds. They not only add texture but also a delightful nutty flavor that complements the chocolate beautifully. Just be sure to chop them coarsely so they mix evenly throughout the batter.
- Fruit and Chocolate Combo: For a fruity twist, fold in some dark chocolate-covered strawberries or raspberries into the batter before baking. The burst of fruity flavor with the chocolate is simply divine and perfect for Valentine’s Day!
- Minty Freshness: Want to add a refreshing taste? Mix in a teaspoon of peppermint extract to the batter. It’ll give your treats a lovely minty flavor that pairs perfectly with chocolate. You could even top them off with crushed peppermint candies for a festive touch!
- Spices for Warmth: Experiment with spices like cinnamon or cayenne pepper for a warm kick! Just a pinch of cayenne adds a surprising heat that contrasts nicely with the sweetness of the chocolate. Cinnamon can bring a lovely warmth and comforting aroma that’s perfect for cozy baking days.
- Vegan Version: If you want to make this recipe vegan-friendly, substitute the eggs with flaxseed meal (1 tablespoon flaxseed meal + 2.5 tablespoons water = 1 egg) and use plant-based milk. Just be sure to choose dairy-free chocolate chips, and you’ll have a delicious vegan treat!
These variations not only keep things exciting but also allow you to tailor your baking to your loved ones’ tastes. So, don’t hesitate to mix and match these ideas to create something truly special this Valentine’s Day!
Serving Suggestions
Now that you’ve whipped up these delightful treats, let’s talk about how to serve them up in style! Presentation can make all the difference, especially on a special day like Valentine’s Day. Here are some fun and creative ideas to make your baked goods shine:
- Heartfelt Gift Boxes: Package your treats in cute heart-shaped boxes or decorative tins. You can fill them with an assortment of your baked goodies and tie them with a lovely ribbon. This makes a heartfelt gift for friends, family, or that special someone!
- Plate Them with Love: Arrange your baked treats on a beautiful platter or cake stand. You can sprinkle some powdered sugar on top for a touch of elegance, or add fresh berries and mint leaves for a pop of color. It’s all about making it visually appealing!
- Serve with Whipped Cream: For an extra special touch, consider serving your chocolate treats with a dollop of homemade whipped cream. It adds a lovely creaminess that pairs perfectly with the rich chocolate flavor!
- Pair with Beverages: Think about what drinks would complement your baked goods! A rich hot chocolate, a glass of sparkling rosé, or even a cozy cup of coffee can elevate the whole experience. You could even make a fun hot chocolate bar with toppings like marshmallows and sprinkles!
- Make a Dessert Table: If you’re hosting a Valentine’s get-together, create a dessert table featuring your baked treats alongside other sweets like chocolate-covered strawberries, cookies, or cupcakes. It creates a festive atmosphere and gives everyone plenty of options!
- Personalized Touch: Try writing sweet messages on small cards and placing them next to each treat. Whether it’s a romantic quote or a simple “I love you,” it adds a personal touch that shows you care.
With these serving suggestions, your baked goods won’t just taste amazing—they’ll look fantastic too! So get ready to impress your loved ones with not just the flavors but the whole experience of your Valentine’s Day baking!
Nutritional Information Section
Understanding the nutritional value of what you’re baking is important, especially when you’re sharing these treats with loved ones! Here’s an estimated breakdown of the typical nutritional values for one serving of these delicious Valentine’s Day treats:
- Calories: 200
- Fat: 8g
- Saturated Fat: 5g
- Unsaturated Fat: 3g
- Trans Fat: 0g
- Cholesterol: 30mg
- Sodium: 150mg
- Carbohydrates: 30g
- Fiber: 2g
- Sugar: 15g
- Protein: 3g
Keep in mind that these values are estimates and can vary based on specific ingredients and portion sizes. But don’t let numbers take away from the joy of baking! Enjoy these treats in moderation, and remember that it’s all about the love you put into making them!
FAQ Section
Q1: How should I store my baked treats?
To keep your delicious Valentine’s Day goodies fresh, store them in an airtight container at room temperature. They’ll stay tasty for a few days! If you want to keep them longer, just wrap each piece tightly in plastic wrap and freeze them. They’ll taste just as scrumptious when you thaw them out later!
Q2: Can I substitute ingredients in this recipe?
Absolutely! This recipe is quite forgiving. You can swap out the all-purpose flour for a gluten-free blend if you need a gluten-free option. If you’re out of eggs, you can use flaxseed meal (1 tablespoon flaxseed meal + 2.5 tablespoons water = 1 egg) or unsweetened applesauce as a substitute. Just remember, these swaps might slightly change the texture, but they’ll still be delightful!
Q3: What if I don’t have cocoa powder?
If cocoa powder is missing from your pantry, you can replace it with carob powder for a different flavor profile. While it won’t taste exactly the same, it can still bring a lovely sweetness and a unique twist to your treats. You could also try omitting it entirely for a vanilla-flavored baked good—just adjust the sugar a bit since cocoa powder adds some sweetness.
Q4: How can I ensure my baked items are perfectly cooked?
Great question! Always start by checking your treats a few minutes before the suggested baking time. Insert a toothpick into the center, and if it comes out clean or with a few moist crumbs, they’re done! If it’s wet batter, give them a few more minutes. Remember, ovens can vary, so trust your instincts!
Q5: Can I make these treats ahead of time?
Definitely! These treats can be made a day or two in advance. Just make sure to store them properly in an airtight container to keep them fresh. You can also freeze them and thaw them a few hours before serving. This way, you can focus on enjoying your time with loved ones on Valentine’s Day without the last-minute baking rush!
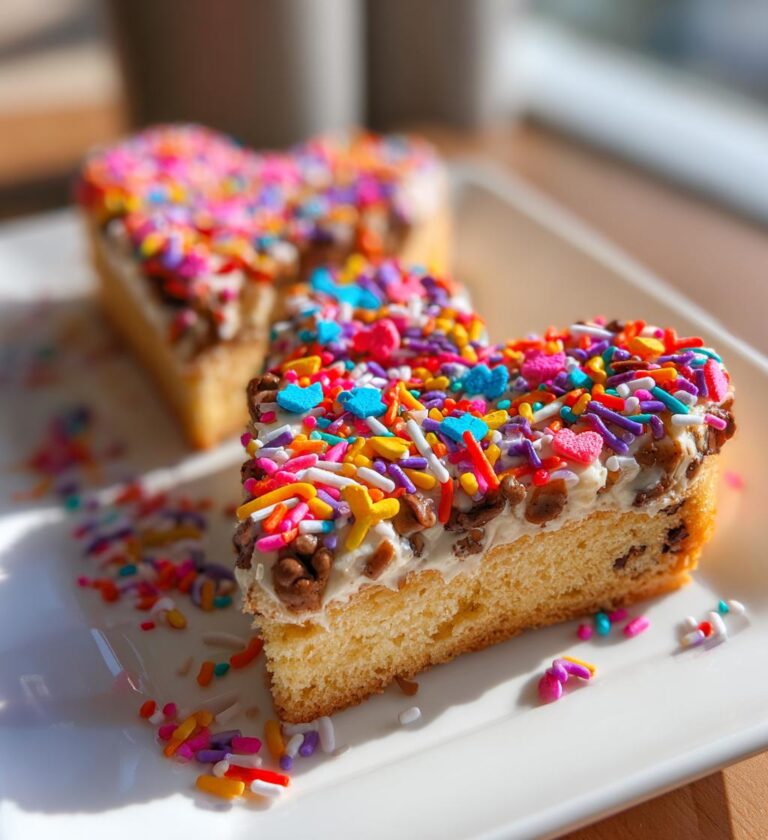
valentines baking ideas to Spark Joy and Create Memories
Delicious and creative baking ideas for Valentine’s Day.
- Total Time: 45 minutes
- Yield: 12 servings 1x
Ingredients
- 2 cups all-purpose flour
- 1 cup sugar
- 1/2 cup unsalted butter
- 2 large eggs
- 1/2 cup milk
- 1 tsp vanilla extract
- 1/2 cup cocoa powder
- 1 tsp baking powder
- 1 tsp baking soda
- 1/4 tsp salt
- 1 cup chocolate chips
Instructions
- Preheat your oven to 350°F (175°C).
- In a large bowl, cream together the butter and sugar.
- Add the eggs one at a time, mixing well after each addition.
- Stir in the milk and vanilla extract.
- In another bowl, combine the flour, cocoa powder, baking powder, baking soda, and salt.
- Gradually add the dry ingredients to the wet mixture.
- Fold in the chocolate chips.
- Pour the batter into a greased baking pan.
- Bake for 25-30 minutes or until a toothpick comes out clean.
- Let cool before serving.
Notes
- Use heart-shaped cookie cutters for fun shapes.
- Decorate with icing or sprinkles for a festive touch.
- Store leftovers in an airtight container.
- Prep Time: 15 minutes
- Cook Time: 30 minutes
- Category: Dessert
- Method: Baking
- Cuisine: American
- Diet: Vegetarian
Nutrition
- Serving Size: 1 piece
- Calories: 200
- Sugar: 15g
- Sodium: 150mg
- Fat: 8g
- Saturated Fat: 5g
- Unsaturated Fat: 3g
- Trans Fat: 0g
- Carbohydrates: 30g
- Fiber: 2g
- Protein: 3g
- Cholesterol: 30mg
Keywords: valentines baking ideas