
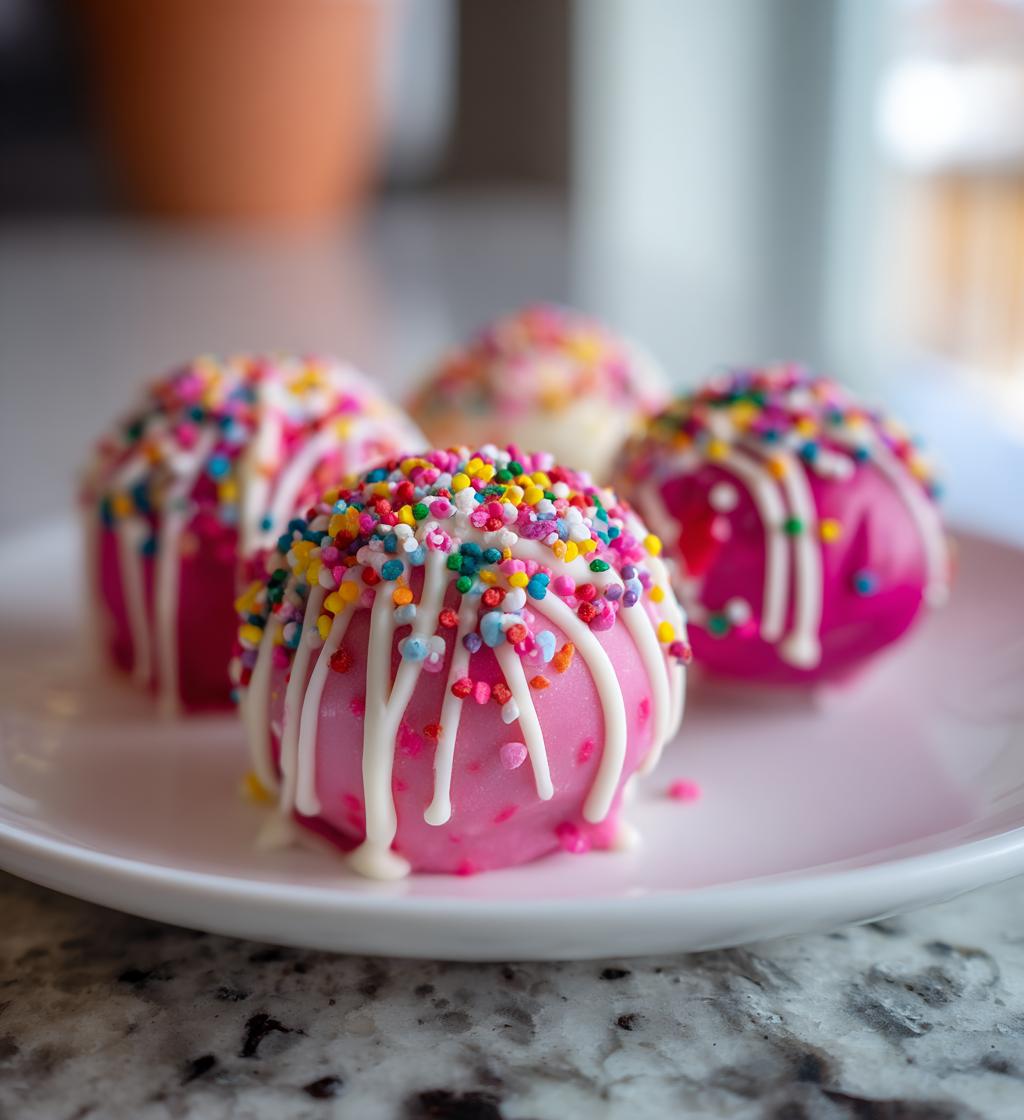
Ah, there’s just something magical about making valentines cake pops! The joy that fills the kitchen as I whip up these sweet little treats is unmatched. Each time I bring them to friends or family, I can feel the love they bring. They’re perfect for sharing and celebrating Valentine’s Day, which is all about connection and sweetness, right? I remember the first time I made these for my kids’ school party. The delight on their faces when they saw the colorful cake pops was priceless! They quickly became the star of the dessert table, glimmering with sprinkles and love.
What I love most is how simple yet fun they are to make. You can get creative with flavors and colors, letting your imagination run wild. And let’s not forget the best part: popping one of these bite-sized delights into your mouth and savoring that rich cake and frosting combo. It’s a little piece of happiness! Whether you’re making them for a loved one, a gathering, or just because, valentines cake pops are guaranteed to spread joy. So, grab your ingredients, and let’s get to it!
Ingredients List
To make the most delightful valentines cake pops, you’ll need the following ingredients:
- 1 box cake mix (standard size; any flavor you fancy!)
- 1 cup frosting (your choice of flavor; cream cheese works wonders!)
- 1 package candy melts (approximately 12 oz; grab a color that makes you smile)
- 20 lollipop sticks (these are essential for that pop appeal!)
- Sprinkles for decoration (variety of colors optional; let your creativity shine!)
These ingredients come together to create a sweet treat that’s as fun to make as it is to share! So, gather them up, and let’s get started!
How to Prepare Valentines Cake Pops
Now that you’ve gathered your ingredients, let’s dive into the fun part: making those adorable valentines cake pops! Follow these steps, and you’ll be on your way to creating sweet little bites of joy.
Bake the Cake
First things first, you’ll want to bake the cake! Follow the package instructions on your cake mix box – this part is super important! Just mix up the ingredients as directed, pour it into a greased pan, and pop it in the oven. The smell that wafts through your kitchen while it bakes? Pure bliss! Keep an eye on the timer, and don’t forget to do a toothpick test to ensure it’s perfectly baked.
Cool the Cake
Once your cake is done, let it cool completely. I know, patience is tough, but trust me, this step is crucial! If you skip it, you’ll end up with a gooey mess when you try to crumble it. So, let it sit for a bit, maybe enjoy a cup of tea or coffee while it cools. This will give you a moment to get excited about the deliciousness coming next!
Crumble and Mix
Now comes the fun part: crumbling the cake! Take your cooled cake and, using your hands or a fork, crumble it into a large bowl. Aim for tiny pieces; you want it to have a nice consistency. Once that’s done, add in the frosting and mix until it’s all combined. You want to achieve a dough-like texture that holds its shape when you form it into balls. Trust me, the blend of cake and frosting is heavenly!
Form Cake Balls
Time to form those cake balls! Grab a small amount of the mixture (about a tablespoon works great) and roll it between your palms to create smooth balls. You want them to be about the size of a golf ball – not too big, but just the right size for popping in your mouth. Keep rolling until you’ve used up all the mixture. You’ll feel like a cake pop-making machine!
Chill the Cake Balls
After forming the cake balls, it’s time to chill them! Pop them in the refrigerator for about 30 minutes. This step helps them firm up so they hold their shape when you dip them in candy melts. Plus, it gives you a little break before the final assembly, which is always a good thing!
Melt Candy Melts
Now for the magic: melting the candy melts! Follow the package instructions, usually melting them in a microwave-safe bowl in short bursts (15-30 seconds), stirring in between until they’re smooth and creamy. You want a nice, velvety consistency that will coat the cake balls perfectly. Feel free to add a splash of coconut oil if you want it even smoother!
Assemble the Cake Pops
Once your candy melts are ready, it’s assembly time! Take a lollipop stick and dip one end into the melted candy. This little trick helps secure the stick in the cake ball. Then, gently insert the stick into a cake ball, making sure not to push it all the way through. Repeat this step with all your cake balls – it’s starting to look like a sweet masterpiece!
Coat and Decorate
Next up, it’s time to coat those cake balls! Dip each ball into the melted candy, rolling it around until it’s fully covered. Tap off any excess candy melts gently. Before the coating hardens, sprinkle on your decorations! Whether it’s colorful sprinkles, edible glitter, or anything else that catches your fancy, this is where you can really let your creativity shine!
Set and Serve
Finally, let your cake pops set completely. You can stand them upright in a foam block or place them in a cup for support. Once the coating has hardened, they’re ready to be devoured! I always feel a wave of excitement when it’s time to share them. Trust me; these little bites of love will make any occasion feel extra special!
Why You’ll Love This Recipe
Making valentines cake pops is an absolute delight, and there are so many reasons why you’ll fall in love with this recipe!
- Quick and easy preparation: With just a handful of ingredients and a few simple steps, you can whip up these cake pops in no time! Perfect for when you’re short on time but still want to impress.
- Perfect for sharing with loved ones: These adorable treats are not just visually stunning; they’re also made for sharing! Bring them to parties, pack them in lunchboxes, or surprise your family with a sweet treat that shows how much you care.
- Customizable with colors and flavors: The sky’s the limit when it comes to creativity! You can play with different cake flavors, frosting varieties, and candy melt colors to fit any occasion or personal taste. Want to make chocolate cake pops? Go for it!
- Fun activity for kids and adults alike: Making valentines cake pops is a fantastic family activity. Kids love getting involved in the rolling and decorating, making it a fun bonding experience that everyone can enjoy together.
Trust me, once you start making these delightful treats, you’ll find every reason to whip up a batch for any occasion! They’re not just cake pops; they’re little bites of happiness that create lasting memories.
Tips for Success
Now that you’re ready to make those delicious valentines cake pops, here are some pro tips to ensure they turn out perfectly every time!
Achieving a Smooth Coating
To get that beautiful, smooth finish on your cake pops, make sure your candy melts are melted to the right consistency. If they’re too thick, they won’t coat well, so don’t hesitate to add a splash of coconut oil or vegetable oil to thin them out a bit. This little trick works wonders! Stir well to combine until you have that velvety texture. Also, when dipping, swirl the cake pop gently to let any excess candy melt drip off – this helps prevent clumps and gives a nice, even coating.
Chill, Chill, Chill!
Remember to keep those cake balls chilled before dipping! It makes a world of difference in maintaining their shape while being coated. If your cake pops start to get too warm, they might start falling apart or lose their round shape. If you notice this happening, pop them back in the fridge for a few more minutes!
Flavor Variations
Don’t be afraid to get creative with flavors! While vanilla or chocolate are classics, you can switch things up by using lemon cake mix with cream cheese frosting or even red velvet cake for a festive twist. The combinations are endless! You can also experiment with flavored candy melts like strawberry or mint for an exciting pop of flavor.
Decorating with Style
When it comes to decorating, the more colorful, the better! Use a mix of different sprinkles, edible glitter, or even drizzle some contrasting colored candy melts on top for a fancy touch. You could also add some themed decorations like heart-shaped sprinkles for Valentine’s Day or even personalized messages on the pops. Let your creativity run wild!
Storage Tips
Once you’ve made these delightful treats, store them in an airtight container in the refrigerator. They’ll stay fresh for about a week – if they last that long! If you want to keep them longer, you can freeze them. Just make sure to wrap them individually in plastic wrap and store them in a freezer-safe container. When you’re ready to enjoy, let them thaw in the fridge overnight.
With these tips, you’re all set for a successful adventure in making valentines cake pops. Enjoy the process and have fun sharing these sweet little bites of joy with your loved ones!
Nutritional Information
As you whip up these delightful valentines cake pops, it’s good to know what you’re indulging in! Here’s an estimated breakdown of the nutritional values for each cake pop:
- Calories: 150
- Fat: 6g
- Saturated Fat: 3g
- Trans Fat: 0g
- Cholesterol: 20mg
- Sodium: 50mg
- Carbohydrates: 20g
- Sugar: 12g
- Fiber: 0g
- Protein: 2g
Keep in mind that these values are estimates and can vary based on the specific brands of ingredients you use or any variations you might add. But hey, a little sweetness never hurt anyone, right? Enjoy every bite of your homemade valentines cake pops knowing they’re bringing joy (and a bit of indulgence) to your celebrations!
FAQ Section
Got questions about making those delightful valentines cake pops? No worries, I’ve got you covered! Here are some common queries I often get, along with my answers to help you out.
Can I use homemade cake instead of box mix?
Absolutely! If you have a favorite homemade cake recipe, go for it! Just make sure the cake is fully cooled before crumbling it and mixing with frosting. The key is to achieve that dough-like consistency, so feel free to adjust the frosting amount as needed to get it just right!
How do I store the cake pops?
To keep your cake pops fresh, store them in an airtight container in the refrigerator. They’ll stay good for about a week. If you want to keep them longer, you can freeze them! Just wrap each cake pop in plastic wrap and store them in a freezer-safe container. When you’re ready to eat, let them thaw in the fridge overnight to enjoy them at their best!
Can I use different flavors of frosting?
Definitely! The frosting is your chance to get creative. You can use any flavor you love – chocolate, vanilla, cream cheese, or even something fruity like strawberry! Just make sure it complements the cake flavor you choose. It’s all about personal taste, so have fun experimenting!
If you have more questions, feel free to reach out! Making valentines cake pops should be a fun and joyful experience, and I’m here to help you along the way!
Storage & Reheating Instructions
After you’ve whipped up a batch of those adorable valentines cake pops, you’ll want to make sure they stay fresh and delicious for as long as possible! Here’s how to store your sweet creations properly.
First off, to keep your cake pops at their best, store them in an airtight container in the refrigerator. This will help maintain their moisture and flavor. They should stay fresh for about a week, but I can pretty much guarantee they won’t last that long once you share them with friends and family!
If you find yourself with leftovers (which is a rare occasion, but hey, it happens!), you can freeze them for later enjoyment. Just wrap each cake pop individually in plastic wrap and place them in a freezer-safe container. This way, they won’t stick together, and you can easily grab one whenever you have a craving! To thaw, simply move them to the fridge the night before you want to enjoy them. This gentle thawing keeps them from getting too soft or soggy.
When you’re ready to indulge, I recommend letting them sit out for a few minutes at room temperature before digging in. This little wait allows the chocolate coating to soften just a tad, making every bite even more heavenly! Trust me, enjoying these cake pops fresh out of the fridge will bring a smile to your face, just like the first time you made them!
Print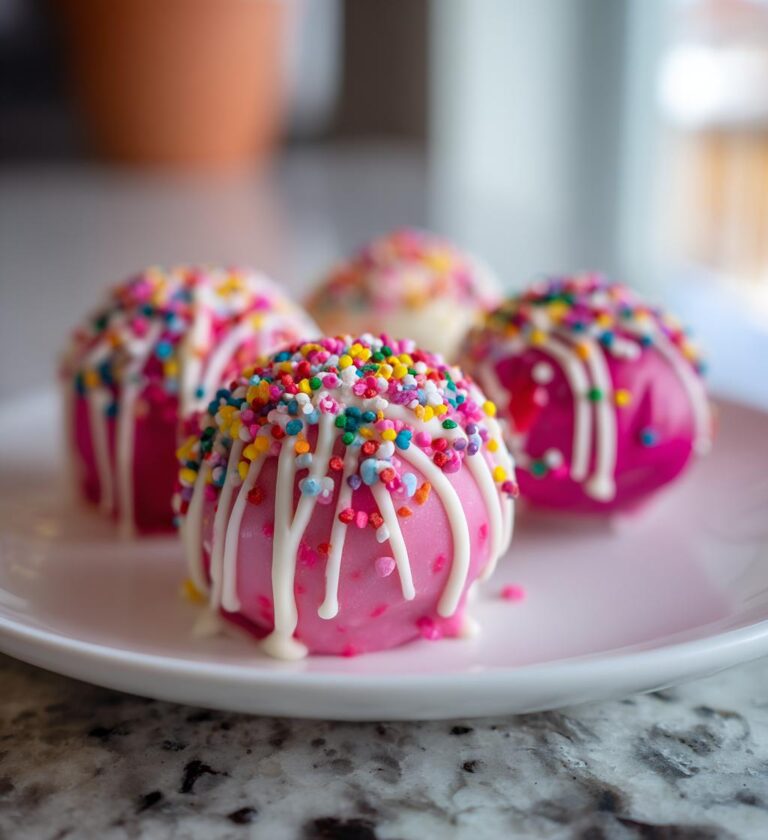
Valentines Cake Pops: 7 Sweet Bites of Love to Share
Delicious cake pops perfect for Valentine’s Day.
- Total Time: 1 hour
- Yield: 20 cake pops 1x
Ingredients
- 1 box cake mix
- 1 cup frosting
- 1 package candy melts
- 20 lollipop sticks
- Sprinkles for decoration
Instructions
- Bake the cake according to package instructions.
- Allow the cake to cool completely.
- Crumble the cake into a large bowl.
- Mix in the frosting until combined.
- Form small balls from the cake mixture.
- Chill the cake balls in the refrigerator for 30 minutes.
- Melt the candy melts according to package instructions.
- Dip one end of a lollipop stick into the melted candy, then insert it into a cake ball.
- Coat each cake ball in the melted candy.
- Decorate with sprinkles before the candy hardens.
- Let the cake pops set completely before serving.
Notes
- Use different colors of candy melts for variety.
- Store in the refrigerator for freshness.
- Prep Time: 20 minutes
- Cook Time: 30 minutes
- Category: Dessert
- Method: Baking and coating
- Cuisine: American
- Diet: Vegetarian
Nutrition
- Serving Size: 1 cake pop
- Calories: 150
- Sugar: 12g
- Sodium: 50mg
- Fat: 6g
- Saturated Fat: 3g
- Unsaturated Fat: 2g
- Trans Fat: 0g
- Carbohydrates: 20g
- Fiber: 0g
- Protein: 2g
- Cholesterol: 20mg
Keywords: valentines cake pops, cake pops, dessert, Valentine's Day