
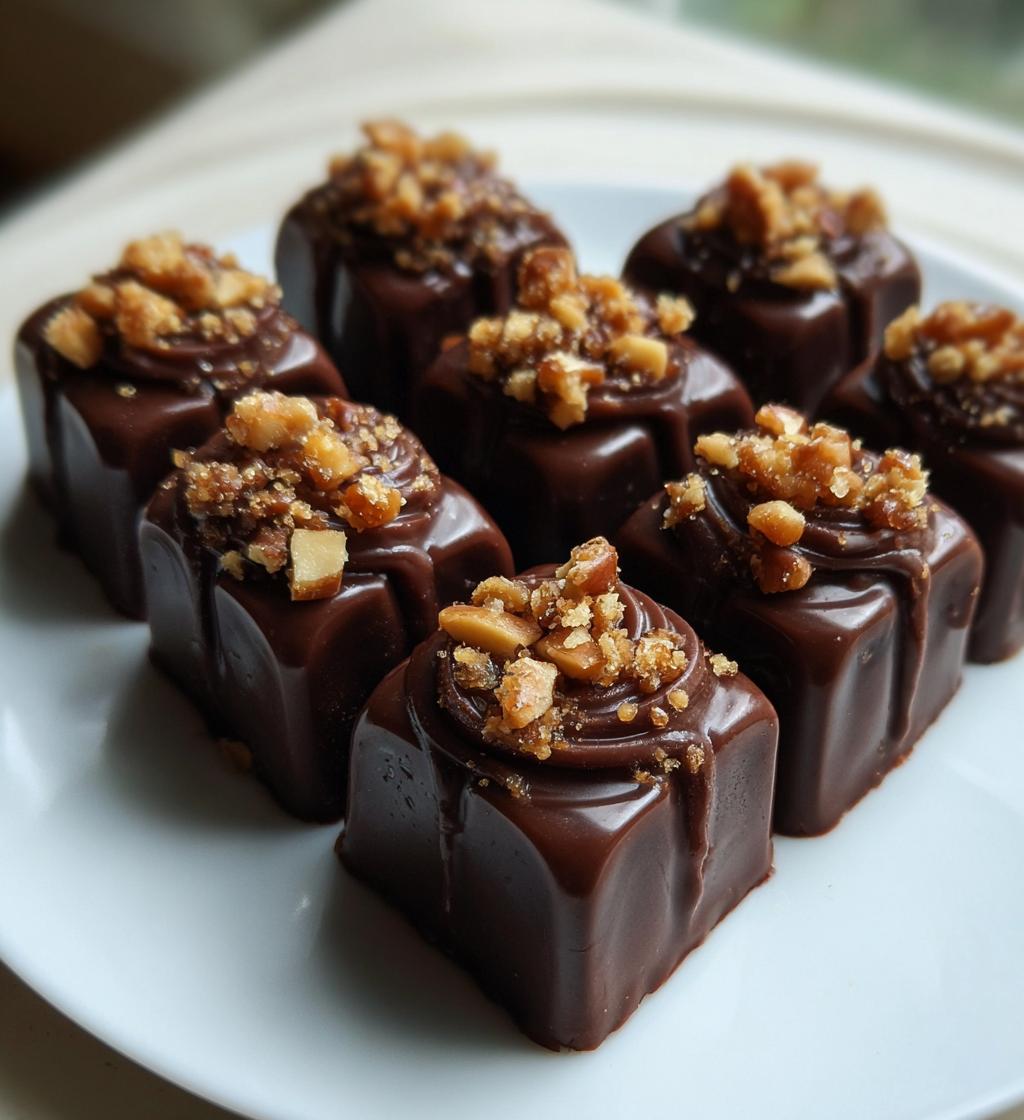
There’s something undeniably special about making homemade chocolates for Valentine’s Day. The act of creating a sweet treat from scratch not only brings joy to the process, but it also conveys love and thoughtfulness that store-bought chocolates just can’t match. I remember the first time I decided to whip up a batch for my partner; the kitchen was filled with the rich aroma of melting chocolate, and I was so excited to see their face light up when they took that first bite. It felt like magic! These valentines chocolates are not just treats; they’re heartfelt gifts that say, “I care.” You can customize them to suit anyone’s taste, whether they love dark chocolate, nuts, or something fruity. Plus, the satisfaction of sharing something you made yourself is just unbeatable! So, grab your apron and let’s dive into this delightful chocolate adventure together. Trust me, your loved ones will appreciate the effort, and you might just find a new favorite tradition in the process!
Ingredients for Valentines Chocolates
Before we start creating these delightful valentines chocolates, let’s gather everything you’ll need. Here’s what you’ll want to have on hand:
- 200g dark chocolate: Choose a high-quality brand for rich flavor.
- 100g milk chocolate: This adds a lovely sweetness to balance the dark chocolate.
- 50g butter: This helps create a smooth and creamy texture.
- 1 cup heavy cream: Essential for that luscious whipped filling.
- 1 tsp vanilla extract: Adds a warm, aromatic flavor to your chocolates.
- 1/2 cup powdered sugar: This sweetens the mixture without adding graininess.
- 1/4 cup crushed nuts (optional): Use your favorites for a delightful crunch—think almonds or hazelnuts!
Having these ingredients prepped and ready will make the chocolate-making process smooth and enjoyable. Trust me, you’ll want to make sure everything is at your fingertips so you can focus on the fun part—creating those beautiful chocolates!
How to Prepare Valentines Chocolates
Making these valentines chocolates is a delightful process, and I promise it’s easier than you might think! Let’s break it down into simple, manageable steps that will lead you to chocolate bliss. Ready? Let’s get started!
Step-by-Step Instructions
Follow these steps closely, and you’ll have a batch of delicious homemade chocolates in no time!
Melting the Chocolate
First things first, we need to melt that glorious dark chocolate and butter together. Grab a heatproof bowl and set it over a pot of simmering water—this is known as the double boiler method. Make sure the bowl doesn’t touch the water; we want gentle heat! Add your 200g of dark chocolate and 50g of butter to the bowl. Stir occasionally with a spatula until everything is beautifully melted and silky smooth. Careful, it can get hot! Once melted, take it off the heat and let it cool slightly while we tackle the next step.
Whipping the Cream
Now, let’s whip that heavy cream. Pour 1 cup of heavy cream into a mixing bowl. Using an electric mixer, beat the cream on medium speed until soft peaks form. This usually takes about 3-5 minutes. You want it fluffy but not too stiff—think clouds! If you overwhip, it can turn grainy, so keep an eye on it. The moment you see those soft peaks, you’re golden!
Combining Ingredients
Here comes the fun part! Gently fold the melted chocolate mixture into the whipped cream using a spatula. Don’t rush it; we want to keep that airiness in the cream. Add in 1 tsp of vanilla extract and 1/2 cup of powdered sugar. Fold everything together until just combined. You might see a few streaks of cream, and that’s totally okay! We don’t want to lose that fluffy texture.
Molding and Refrigerating
Time to pour this luscious mixture into your chocolate molds! Use a spoon to fill each mold, and don’t forget to sprinkle in those 1/4 cup of crushed nuts if you’re using them—it’s a delightful crunch! Once filled, gently tap the molds on the counter to remove any air bubbles. Now, pop them in the refrigerator for at least 2 hours to set. Patience is key here! Once they’re firm and ready, carefully remove them from the molds, and there you have it—your very own homemade valentines chocolates!
Why You’ll Love This Recipe
Making these valentines chocolates at home is such a rewarding experience, and there are so many reasons to love this recipe! Here are just a few:
- Quick and Easy: With just a few simple steps, you can whip up a batch in under an hour (plus chilling time!). It’s perfect for those last-minute gifts!
- Customizable: You can easily tweak the flavors and toppings to make them unique. Add a dash of sea salt, mix in some citrus zest, or swap out the nuts for your favorite dried fruits—the choice is yours!
- Deliciously Decadent: These chocolates are rich and creamy, with that perfect balance of dark and milk chocolate. Each bite is a little piece of heaven!
- Heartfelt Gift: Nothing says “I love you” quite like a handmade treat. Your loved ones will appreciate the time and effort you put into creating something special just for them.
- Fun Activity: Making chocolates can be a fun and enjoyable experience! Gather your friends or family and turn it into a fun activity for everyone to enjoy.
Trust me, once you try this recipe, you’ll be hooked on making your own valentines chocolates every year! It’s a delicious tradition that brings a little extra sweetness to the day.
Tips for Success
To ensure your valentines chocolates turn out absolutely divine, I’ve got some tried-and-true tips that’ll make all the difference. Let’s dive into these little nuggets of wisdom!
- Use High-Quality Chocolate: This is a biggie! The kind of chocolate you use will directly affect the taste of your chocolates. Go for a good quality dark and milk chocolate—trust me, it’s worth it! Look for brands that use real cocoa butter and have a high cocoa percentage for rich flavor.
- Temper the Chocolate (Optional): If you want to elevate your homemade chocolates to a whole new level, consider tempering the chocolate. This process gives your chocolates a glossy finish and a satisfying snap when you bite into them. It’s a bit more work but totally worth it for that professional touch!
- Customize Your Flavors: Don’t be afraid to get creative! You can add flavor extracts like almond or peppermint to the chocolate mixture for a unique twist. Want a fruity kick? Toss in some freeze-dried fruit powder or zest from citrus fruits. The possibilities are endless!
- Experiment with Toppings: While I love crushed nuts, you can also sprinkle sea salt, shredded coconut, or even edible glitter on top for a fun finish. Try adding little pieces of caramel or toffee inside for a delightful surprise!
- Mind the Temperature: Keep an eye on the temperature of your kitchen while you’re making your chocolates. If it’s too warm, your chocolate might not set properly. If you’re in a warm climate, consider chilling your mixing bowl and utensils beforehand to keep everything nice and cool.
- Patience is Key: Don’t rush the chilling process! Allow your chocolates to set in the fridge for the time specified. If you take them out too early, they might not hold their shape. Trust me, the wait is worth it!
With these tips in your back pocket, you’ll be well on your way to creating valentines chocolates that are not only delicious but also beautifully presented. Enjoy the process, and I promise your loved ones will be absolutely thrilled with your homemade creations!
Nutritional Information
Now, let’s talk about the nutritional side of these delicious valentines chocolates. Each serving, which consists of about two chocolates, packs a delightful punch of flavor! Here’s a rough estimate of the nutritional values you can expect:
- Calories: 150
- Fat: 10g
- Saturated Fat: 5g
- Unsaturated Fat: 3g
- Trans Fat: 0g
- Cholesterol: 10mg
- Sodium: 50mg
- Carbohydrates: 15g
- Fiber: 2g
- Protein: 2g
- Sugar: 10g
Keep in mind these values are estimates and can vary based on the specific ingredients you choose. But isn’t it nice to know that you can indulge in these delightful treats while also being mindful of what’s in them? Enjoy every bite of your homemade valentines chocolates!
FAQ Section
What type of chocolate is best for valentines chocolates?
When it comes to making valentines chocolates, the type of chocolate you choose can really make or break your creation. I always recommend using high-quality chocolate because it has a richer flavor and smoother texture. Look for chocolate that contains real cocoa butter—this will give your chocolates that deliciously luxurious taste. A good rule of thumb is to select chocolate with at least 60% cocoa for dark chocolate and a nice milk chocolate that isn’t overly sweet. Trust me, the difference is noticeable, and your loved ones will appreciate the effort!
Can I make valentines chocolates in advance?
Absolutely! One of the best things about these valentines chocolates is that they can be made in advance. Once you’ve shaped and set your chocolates, you can store them in an airtight container in a cool, dry place. They should last about a week at room temperature, but if you want to keep them fresh for longer, you can pop them in the fridge. Just be sure to let them come to room temperature before serving to bring back that rich, creamy texture. Preparing them ahead of time can relieve some last-minute stress, and it gives you more time to plan a lovely presentation!
How can I customize my valentines chocolates?
Customization is one of the most fun parts of making valentines chocolates! You can easily tweak the flavors and ingredients to suit your loved ones’ tastes. For instance, try adding a splash of flavored extracts like almond or peppermint to the chocolate mixture for a unique twist. You can also incorporate different toppings—think crushed freeze-dried fruits, sprinkles, or even a sprinkle of sea salt for that delightful contrast. If you want to get a little adventurous, mix in some liqueurs or flavored oils for an adult version. The possibilities are endless, and these personal touches will make your chocolates even more special!
Storage & Reheating Instructions
Storing your delicious valentines chocolates properly is key to keeping them fresh and tasty! Once they’re set and removed from the molds, place them in an airtight container. If you’re keeping them at room temperature, make sure the container is in a cool, dry place away from direct sunlight. They’ll stay good for about a week this way.
If you want to extend their shelf life, go ahead and pop them in the fridge! Just remember to let them come to room temperature before serving, as this helps restore that smooth, creamy texture. As for reheating, these chocolates are best enjoyed as is, but if you need to soften them slightly, you can microwave them for just a few seconds on low power. Be careful not to overdo it, or you might end up with a melted mess! Enjoy every bite of your lovingly made treats!
Print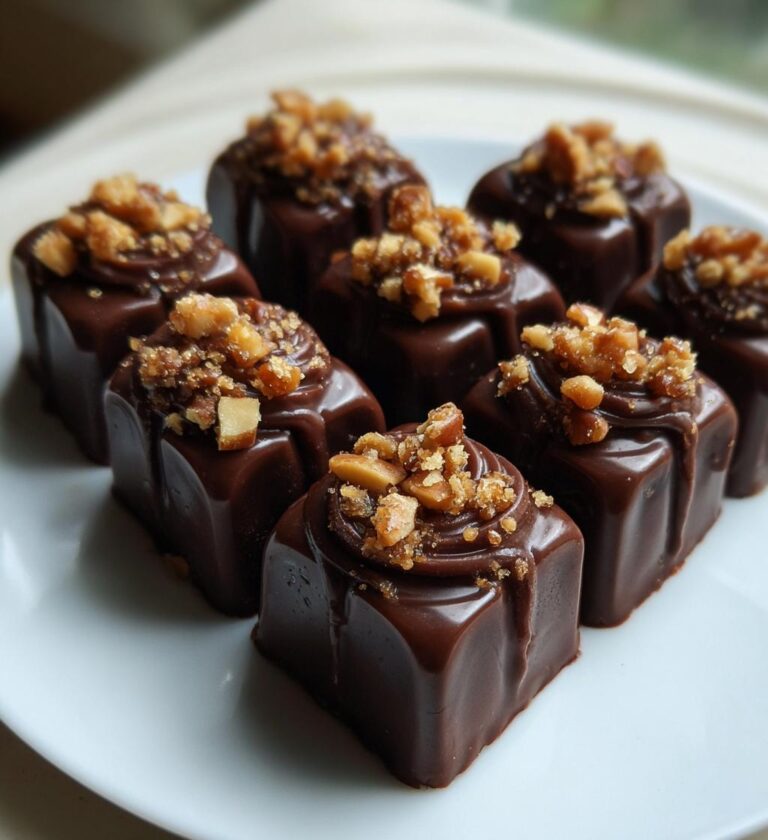
valentines chocolates: 5 Steps to Heartfelt Homemade Bliss
Delicious homemade chocolates for Valentine’s Day.
- Total Time: 2 hours 40 minutes
- Yield: 20 chocolates 1x
Ingredients
- 200g dark chocolate
- 100g milk chocolate
- 50g butter
- 1 cup heavy cream
- 1 tsp vanilla extract
- 1/2 cup powdered sugar
- 1/4 cup crushed nuts (optional)
Instructions
- Melt dark chocolate and butter in a bowl over boiling water.
- In another bowl, whip heavy cream until soft peaks form.
- Fold melted chocolate into whipped cream.
- Add vanilla extract and powdered sugar, mix well.
- Pour mixture into chocolate molds and sprinkle crushed nuts on top.
- Refrigerate for at least 2 hours until set.
- Remove from molds and serve.
Notes
- Use high-quality chocolate for best taste.
- Customize with different flavors or toppings.
- Store in a cool place.
- Prep Time: 30 minutes
- Cook Time: 10 minutes
- Category: Dessert
- Method: Chilling
- Cuisine: American
- Diet: Vegetarian
Nutrition
- Serving Size: 2 chocolates
- Calories: 150
- Sugar: 10g
- Sodium: 50mg
- Fat: 10g
- Saturated Fat: 5g
- Unsaturated Fat: 3g
- Trans Fat: 0g
- Carbohydrates: 15g
- Fiber: 2g
- Protein: 2g
- Cholesterol: 10mg
Keywords: valentines chocolates, homemade chocolates, chocolate recipe