
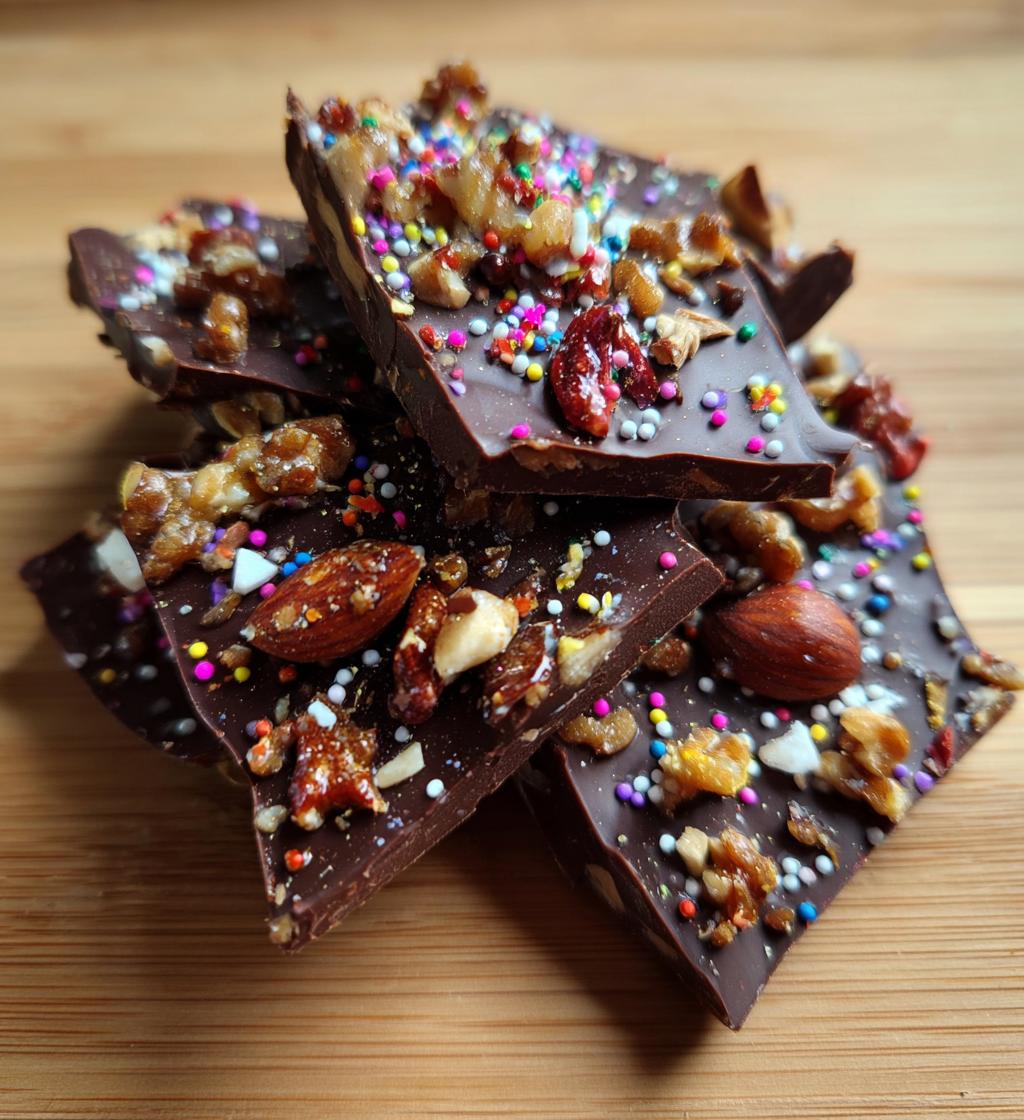
Every Valentine’s Day, I find myself drawn to the kitchen, armed with nothing but a bag of dark chocolate chips and a heart full of love. There’s something incredibly special about making homemade chocolates for the people I care about. It’s like wrapping a piece of my affection in every bite! I still remember the first time I decided to create my own *valentines day chocolate* treats. I was nervous, unsure if my skills would measure up, but the moment that smooth, melted chocolate poured into the molds, I felt like a true chocolatier.
The joy of crafting these delightful morsels is hard to beat. The rich aroma of dark chocolate fills the air, and as I sprinkle on colorful nuts and sprinkles, I can’t help but smile. It’s not just about the taste; it’s the process that brings warmth to my heart. Plus, these homemade chocolates make for the perfect gifts—who wouldn’t love receiving a box of delicious, handcrafted treats? So let’s dive into this delightful recipe together, and trust me, your loved ones will appreciate the sweet effort!
Why You’ll Love This Recipe
- Quick & Easy Preparation: You can whip up these chocolates in just 15 minutes of prep time! With no baking required, it’s a straightforward process that anyone can master.
- Decadent Flavors: The combination of rich dark chocolate, creamy heavy cream, and a hint of vanilla creates a mouthwatering flavor that’s simply irresistible.
- Perfect for Gifting: These delightful homemade chocolates are ideal for sharing with loved ones. Package them in a pretty box, and you’ve got a heartfelt gift that speaks volumes.
- Customizable: You can easily personalize these chocolates with your favorite toppings or flavorings, making each batch uniquely yours!
- Impressive Results: Your friends and family will be amazed when they find out you made these delicious treats from scratch!
Ingredients List
Gather these simple yet essential ingredients to create your own homemade *valentines day chocolate* treats that are sure to impress!
- 1 cup dark chocolate chips: Choose a high-quality dark chocolate for rich flavor. The type of chocolate you pick can really elevate your treats!
- 1/2 cup heavy cream: This creamy ingredient is what gives your chocolates a luscious texture. Make sure it’s fresh for the best results!
- 1 teaspoon vanilla extract: A splash of vanilla adds a wonderful depth of flavor to your chocolates, enhancing the chocolatey goodness.
- 1/4 cup powdered sugar: This sweetener will help balance the richness of the chocolate and cream, making each bite perfectly sweet.
- 1/4 cup crushed nuts: Any nuts you love will do! They add a delightful crunch and make your chocolates extra special.
- 1/4 cup sprinkles: These colorful toppings bring a festive touch to your chocolates, making them look as good as they taste!
How to Prepare Instructions
Now, let’s get into the fun part—making your own *valentines day chocolate*! This step-by-step guide will walk you through the process, ensuring you create the most delectable treats with ease.
Step 1: Melting the Chocolate
First things first, we need to melt those dark chocolate chips! I love using a double boiler for this because it gives you more control over the heat. Just fill a pot with a couple of inches of water and bring it to a gentle simmer. Place a heatproof bowl over the pot, making sure it doesn’t touch the water. Add your chocolate chips to the bowl and stir occasionally until they melt into a smooth, glossy mixture. This should take about 5-7 minutes. Be patient—burnt chocolate is a sad sight!
Step 2: Heating the Cream
While your chocolate is melting, grab another small saucepan to heat the heavy cream. Pour in 1/2 cup of cream and place it over medium heat. You want it to heat until it’s just simmering, not boiling—look for tiny bubbles forming around the edges. This usually takes about 3-4 minutes. Once it’s ready, remove it from the heat and get ready to combine it with the chocolate!
Step 3: Mixing Ingredients
Now, here’s where the magic happens! Carefully pour the hot cream over the melted chocolate. Grab a spatula or a whisk and stir them together gently. You want to mix until everything is well combined and you have that gorgeous, silky texture. This should take just a minute or two. If you notice any lumps, don’t worry; just keep stirring until it’s all smooth and dreamy!
Step 4: Pouring and Topping
Once your chocolate mixture is smooth, it’s time to pour it into molds. I love using silicone molds because they make removal super easy! Fill each cavity, but don’t overfill—leave a little space at the top. Now, sprinkle your crushed nuts and colorful sprinkles on top of each chocolate. This is where you can really let your creativity shine! Just a little sprinkle can make a big difference in presentation.
Step 5: Refrigerating the Chocolates
Finally, we need to set those chocolates. Pop your filled molds into the refrigerator for at least 2 hours. This is a crucial step! The cool temperature helps the chocolate firm up into that perfect bite-sized treat. Once they’re set, gently remove them from the molds, and voila! You’ve got your gorgeous homemade chocolates ready to be enjoyed or gifted!
Tips for Success
Creating perfect *valentines day chocolate* treats is all about paying attention to the details. Here are my favorite tips to help you achieve chocolate perfection!
Choose Quality Chocolate
Your chocolate is the star of the show, so pick a high-quality dark chocolate that you genuinely enjoy. The flavor of the chocolate will shine through in your treats, so don’t skimp on this essential ingredient!
Be Careful with Heat
When melting chocolate, keep the heat low and steady. High heat can turn your chocolate into a burnt blob, which is a total bummer! If you don’t have a double boiler, a microwave works too—just melt in short bursts of 20-30 seconds, stirring in between to avoid overheating.
Storage Matters
To keep your chocolates fresh, store them in an airtight container in a cool place. If it’s warm outside, you might want to pop them in the fridge. Just remember to let them come to room temperature before serving, so the flavor really shines!
Experiment with Toppings
Don’t hesitate to get creative with your toppings! You can swap out the crushed nuts for dried fruits, coconut flakes, or even crushed candy canes for a festive twist. You can also add a touch of sea salt on top for that perfect sweet-and-salty balance!
Use Flavor Extracts
If you’re feeling adventurous, try adding flavor extracts like almond or orange to the chocolate mixture. Just a little can elevate your chocolates to a whole new level, making them even more delightful!
With these tips, you’ll be well on your way to crafting homemade chocolates that are sure to impress! Happy chocolate making!
Variations
One of the best things about making your own *valentines day chocolate* is the endless possibilities for customization! Here are some fun ideas to help you put your unique spin on these delightful treats:
- Different Chocolate Types: While dark chocolate is a classic, don’t hesitate to experiment with milk or white chocolate! Each type brings its own sweetness and flavor profile, making your chocolates completely different.
- Flavor Extracts: Get creative by adding a splash of flavor extracts! Almond, peppermint, or even coffee can elevate your chocolates. Just remember to start with a small amount, as extracts can be potent!
- Seasonal Toppings: Tailor your toppings to fit the season! In the fall, try crushed candy corn or pumpkin spice. For summer, think about fresh berries or coconut flakes to give your chocolates a refreshing twist.
- Infused Chocolates: Infuse your cream with flavors like lavender or chai spices before mixing it with the chocolate. Just heat the cream with the spices and strain before combining—it adds a sophisticated touch!
- Layered Chocolates: For a stunning presentation, consider creating layers! Pour a layer of chocolate, let it set slightly, add another flavor (like a creamy peanut butter layer), and top with more chocolate. Such a fun surprise in every bite!
- Personalized Gift Boxes: When gifting, package your chocolates in themed boxes or tins. You can even decorate them with ribbon or stickers that match the occasion, making your treats even more special!
With these variations, you can make your *valentines day chocolate* extra special and tailored to your taste or the preferences of your loved ones. So, don’t be afraid to get creative and have fun in the kitchen!
Storage & Reheating Instructions
Once you’ve crafted your delightful *valentines day chocolate* treats, it’s important to store them properly to keep them fresh and delicious! Follow these simple guidelines to ensure your chocolates stay in top shape:
- Store in an Airtight Container: Place your chocolates in an airtight container to protect them from moisture and odors. This helps maintain their rich flavor and prevents them from becoming stale.
- Keep in a Cool, Dry Place: Ideally, store your chocolates in a cool, dry area, away from direct sunlight and heat sources. A pantry or cupboard is perfect! If it’s warm in your home, consider refrigerating them to keep them firm.
- Refrigeration Tips: If you do refrigerate your chocolates, let them sit at room temperature for a few minutes before enjoying them. This allows the flavors to bloom and gives them a better texture.
- Avoid Freezing: While it might be tempting, I don’t recommend freezing your chocolates. Freezing can change the texture and flavor, making them less enjoyable. Plus, they may develop a weird frost if not stored properly!
Following these storage tips will help ensure your homemade chocolates remain just as delicious as the day you made them. Enjoy your sweet creations for days to come!
Nutritional Information
Here’s a quick glance at the typical nutritional values for each delicious piece of *valentines day chocolate*. Keep in mind that these are estimates and can vary based on the specific ingredients you use:
- Serving Size: 1 chocolate
- Calories: 100
- Sugar: 8g
- Sodium: 5mg
- Fat: 7g
- Saturated Fat: 4g
- Unsaturated Fat: 2g
- Trans Fat: 0g
- Carbohydrates: 10g
- Fiber: 1g
- Protein: 1g
- Cholesterol: 5mg
These delightful treats are not only a sweet indulgence but also come with a bit of nutrition! Just remember, moderation is key, especially when you’re sharing these homemade chocolates with loved ones. Enjoy every delicious bite!
FAQ Section
Got questions about making your own *valentines day chocolate*? Don’t worry, I’ve got you covered! Here are some common inquiries I’ve received, along with my best tips and insights.
How long do these chocolates last?
Typically, your homemade chocolates will last about 1-2 weeks when stored in an airtight container in a cool, dry place. If you keep them in the refrigerator, they can last a bit longer, but I recommend enjoying them fresh for the best taste. Trust me, they won’t last long once you share them with friends and family!
Can I substitute ingredients in this recipe?
Absolutely! If you’re looking to mix things up, you can swap dark chocolate for milk or white chocolate. Just keep in mind that the flavor and sweetness will change! For the cream, you can use half-and-half or even coconut cream for a dairy-free version. Feel free to experiment with different toppings or flavor extracts too—there are no limits to your creativity!
What’s the best way to gift these chocolates?
Gifting your homemade chocolates is such a lovely idea! You can package them in cute little boxes or tins, and even add a personal touch with a handwritten note. Consider wrapping them in pretty cellophane with a ribbon for that extra special flair. These chocolates make for a heartfelt gift that’s sure to impress anyone on Valentine’s Day—or any day!
Can I freeze these chocolates?
I don’t recommend freezing your chocolates. Freezing can affect their texture and flavor, leading to a less enjoyable experience. Instead, store them in a cool place, and they’ll be just fine! If you happen to have leftovers (which is rare!), just keep them stored properly, and you can savor them for days.
What can I do if my chocolate seizes while melting?
Oh no! If your chocolate seizes, it’s often due to moisture. Don’t panic! You can try adding a small amount of vegetable oil or coconut oil to the chocolate and gently reheating it while stirring. This can help bring it back to a smooth consistency. Remember, patience is key when working with chocolate!
If you have any more questions or need further tips, feel free to reach out! Happy chocolate-making, and enjoy every sweet moment of creating your homemade *valentines day chocolate*!
Print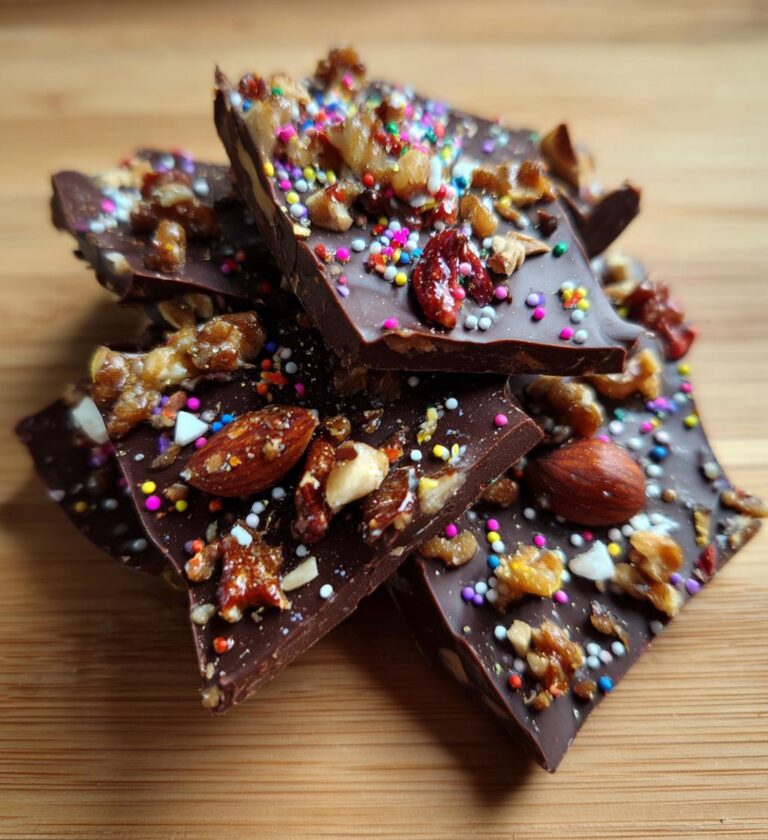
valentines day chocolate: 5 Sweet Steps to Melt Hearts
Delicious homemade chocolate treats for Valentine’s Day.
- Total Time: 2 hours 25 minutes
- Yield: 12 chocolates 1x
Ingredients
- 1 cup dark chocolate chips
- 1/2 cup heavy cream
- 1 teaspoon vanilla extract
- 1/4 cup powdered sugar
- 1/4 cup crushed nuts
- 1/4 cup sprinkles
Instructions
- Melt the dark chocolate chips in a double boiler.
- In a separate bowl, heat the heavy cream until it simmers.
- Pour the cream over the melted chocolate and stir until smooth.
- Add vanilla extract and powdered sugar. Mix well.
- Pour the mixture into molds and sprinkle crushed nuts and sprinkles on top.
- Refrigerate for at least 2 hours until set.
- Remove from molds and serve.
Notes
- Store in a cool place.
- Use any toppings you like.
- These make great gifts.
- Prep Time: 15 minutes
- Cook Time: 10 minutes
- Category: Dessert
- Method: No-bake
- Cuisine: American
- Diet: Vegetarian
Nutrition
- Serving Size: 1 chocolate
- Calories: 100
- Sugar: 8g
- Sodium: 5mg
- Fat: 7g
- Saturated Fat: 4g
- Unsaturated Fat: 2g
- Trans Fat: 0g
- Carbohydrates: 10g
- Fiber: 1g
- Protein: 1g
- Cholesterol: 5mg
Keywords: valentines day chocolate, homemade chocolate, chocolate treats