Making bread at home has never been easier, especially with the magic of an air fryer! I remember the first time I decided to ditch the oven and try my hand at air fryer bread. Wow, was I blown away by how quickly I could whip up a fresh loaf! In just under an hour, I had warm, golden-brown bread, with that irresistible aroma wafting through my kitchen. The best part? You don’t need any fancy equipment or hours of kneading. This easy and quick recipe for air fryer bread takes minimal ingredients and effort, making it perfect for those busy weeknights or spontaneous gatherings. Trust me, once you’ve tasted that first slice, you’ll be hooked on this method. Plus, you can customize it however you like! Let’s dive into this delightful journey of homemade bread that’s sure to impress your family and friends.
Ingredients List
- 2 cups all-purpose flour
- 1 tablespoon sugar
- 1 teaspoon salt
- 1 tablespoon yeast
- 3/4 cup warm water
- 1 tablespoon olive oil
How to Prepare Air Fryer Bread
Making air fryer bread is a fun and straightforward process! Let me guide you through it step by step. You’ll be amazed at how simple it is to create a delicious loaf without much hassle.
Step-by-Step Instructions
- Start by mixing 3/4 cup of warm water with 1 tablespoon of sugar and 1 tablespoon of yeast in a bowl. Let this sit for about 5 minutes until it becomes frothy. This step is crucial because it activates the yeast and helps your bread rise!
- Once you see bubbles forming, add 2 cups of all-purpose flour, 1 teaspoon of salt, and 1 tablespoon of olive oil to the yeast mixture. Stir everything together until a dough starts to form. Don’t worry if it looks a bit shaggy at first; that’s perfectly normal!
- Next, sprinkle some flour on your countertop and knead the dough for about 5 minutes. This helps develop the gluten, giving your bread structure. You want the dough to be smooth and elastic by the end of this step.
- Now, place your kneaded dough in a greased bowl, cover it with a clean kitchen towel, and let it rise in a warm spot for about 1 hour. It should double in size, which is always a delightful sight!
- While the dough is rising, go ahead and preheat your air fryer to 350°F (175°C). This ensures that it’s nice and hot when your bread is ready to go in.
- After the dough has risen, gently punch it down to release any air bubbles. Shape it into a loaf and carefully place it in the air fryer basket.
- Finally, cook the bread for 25 minutes or until it’s golden brown on top. You can check for doneness by tapping on the bottom of the loaf; it should sound hollow!
And there you have it! This straightforward method will have you enjoying fresh air fryer bread in no time. Just wait until you take that first warm slice—trust me, it’s heavenly!
Nutritional Information
Before we dig into all the deliciousness of this air fryer bread, let’s talk about the nutrition! Keep in mind that these values can vary based on the specific ingredients and brands you use, so consider this a ballpark estimate. Typically, one slice of this delightful bread contains about 120 calories, 3g of fat, 1g of sugar, and 22g of carbohydrates. You’ll also get around 3g of protein and 1g of fiber per slice. It’s a simple, satisfying option for your meals, whether you’re toasting it up or enjoying it fresh from the air fryer!
Tips for Success with Air Fryer Bread
Now that you’re ready to make some amazing air fryer bread, let me share a few pro tips that will ensure your loaf turns out perfectly every time. First off, make sure your warm water is just that—warm, not hot! If it’s too hot, it can kill the yeast, and nobody wants that! Aim for a temperature around 110°F (43°C).
Another handy tip is to check your dough while it’s rising. If your kitchen is too cool, it might take longer to double in size. Just give it a little extra time if needed; patience is key here! Also, don’t overcrowd your air fryer. If you’re tempted to make two loaves at once, resist! Baking them one at a time will give them the best chance to rise and brown evenly.
Lastly, remember to check on the bread during the last few minutes of cooking. Air fryers can vary in heat, and you want that golden crust without burning it. A gentle tap on the bottom will tell you if it’s done—if it sounds hollow, you’re golden!
Variations of Air Fryer Bread
Once you’ve mastered the basics of air fryer bread, the fun really begins! There are so many delicious ways to customize this recipe and make it your own. For a savory twist, try adding herbs like rosemary or thyme right into the dough. Just a teaspoon or two can transform your loaf into a fragrant delight that pairs perfectly with soups and stews.
If you’re a fan of a touch of sweetness, consider stirring in some chocolate chips or dried fruits like cranberries or raisins for a delightful breakfast treat. You can even experiment with different types of flour! Using whole wheat flour will give your bread a nuttier flavor and a bit more fiber, while spelt flour adds a lovely richness.
Feeling adventurous? Mix in some spices like cinnamon for a sweet twist or a pinch of cayenne pepper for a spicy kick. The possibilities are endless, and I can’t wait for you to try out your own variations!
Why You’ll Love This Recipe
- Quick & Easy: With just a few simple ingredients and only about an hour from start to finish, you can enjoy homemade bread without the fuss!
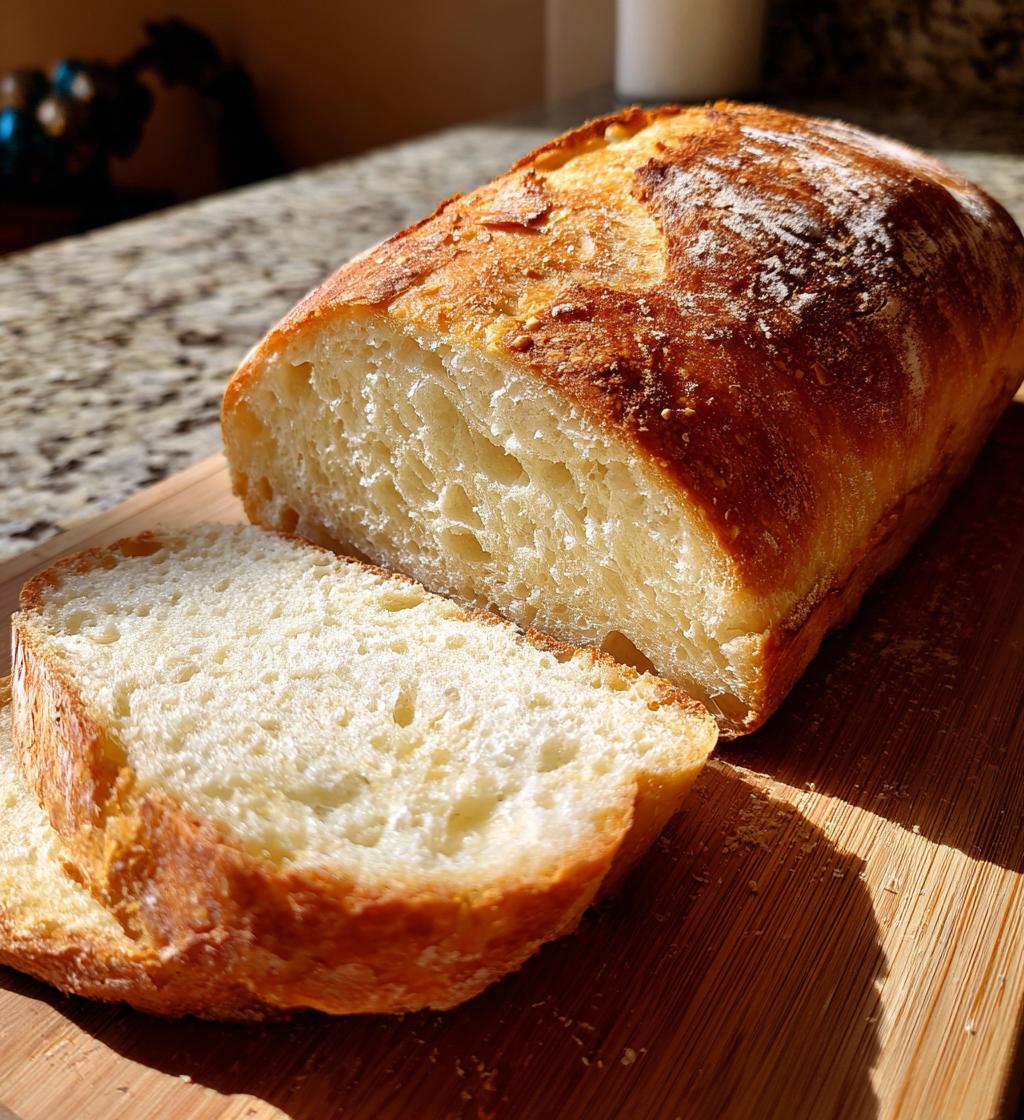
- Perfectly Crisp Crust: The air fryer creates a beautifully golden crust while keeping the inside soft and fluffy.
- Customizable: Feel free to add your favorite herbs, spices, or even cheeses to make this bread uniquely yours!
- Healthy Option: This recipe uses minimal oil and can be easily adapted to fit various dietary needs.
- Impressive Aroma: The smell of fresh bread baking will fill your kitchen and make your home feel warm and inviting.
Storage & Reheating Instructions
To keep your air fryer bread fresh, wrap it tightly in plastic wrap or store it in an airtight container at room temperature. This will help maintain its soft texture for up to 3 days. If you want to keep it longer, consider freezing it! Just slice the bread, place it in a freezer-safe bag, and it can last for about 3 months.
When you’re ready to enjoy a slice, simply reheat it in the air fryer at 300°F (150°C) for about 5 minutes to revive that delightful warmth and crispness. You can also toast it lightly to enhance the flavor—perfect for sandwiches or just slathered with butter!
FAQ Section
Q1: Can I use different types of flour for this air fryer bread?
Absolutely! You can substitute all-purpose flour with whole wheat flour or spelt flour for a different flavor and texture. Just keep in mind that it might affect the dough’s consistency, so you may need to adjust the liquid slightly.
Q2: What if my dough doesn’t rise?
If your dough isn’t rising, it could be due to the yeast being inactive. Make sure your warm water is at the right temperature—around 110°F (43°C). If it’s too hot, it might kill the yeast. Also, check that your yeast is fresh and not expired!
Q3: How can I tell when my air fryer bread is done?
To check for doneness, tap the bottom of the loaf; it should sound hollow. You can also use a toothpick inserted into the center—if it comes out clean, your bread is ready!
Q4: Can I add toppings before cooking?
Sure! You can sprinkle seeds, herbs, or cheese on top of the dough before air frying. Just keep an eye on them, as they can brown faster than the bread itself.
Q5: How do I store leftover air fryer bread?
Wrap the bread tightly in plastic wrap or store it in an airtight container at room temperature for up to 3 days. For longer storage, slice and freeze it for up to 3 months.

Air fryer bread: 7 Simple Steps to Heavenly Loaf
Easy and quick recipe for making bread in an air fryer.
- Total Time: 1 hour 40 minutes
- Yield: 1 loaf 1x
Ingredients
- 2 cups all-purpose flour
- 1 tablespoon sugar
- 1 teaspoon salt
- 1 tablespoon yeast
- 3/4 cup warm water
- 1 tablespoon olive oil
Instructions
- Mix warm water, sugar, and yeast in a bowl. Let it sit for 5 minutes.
- Add flour, salt, and olive oil to the yeast mixture. Stir until a dough forms.
- Knead the dough on a floured surface for 5 minutes.
- Place the dough in a greased bowl and cover. Let it rise for 1 hour.
- Preheat the air fryer to 350°F (175°C).
- Shape the dough into a loaf and place it in the air fryer basket.
- Cook for 25 minutes or until golden brown.
Notes
- Check the bread for doneness with a toothpick.
- Adjust cooking time based on your air fryer model.
- Prep Time: 15 minutes
- Cook Time: 25 minutes
- Category: Baking
- Method: Air Frying
- Cuisine: American
- Diet: Vegetarian
Nutrition
- Serving Size: 1 slice
- Calories: 120
- Sugar: 1g
- Sodium: 200mg
- Fat: 3g
- Saturated Fat: 0.5g
- Unsaturated Fat: 2.5g
- Trans Fat: 0g
- Carbohydrates: 22g
- Fiber: 1g
- Protein: 3g
- Cholesterol: 0mg
Keywords: air fryer bread, easy bread recipe, quick bread