
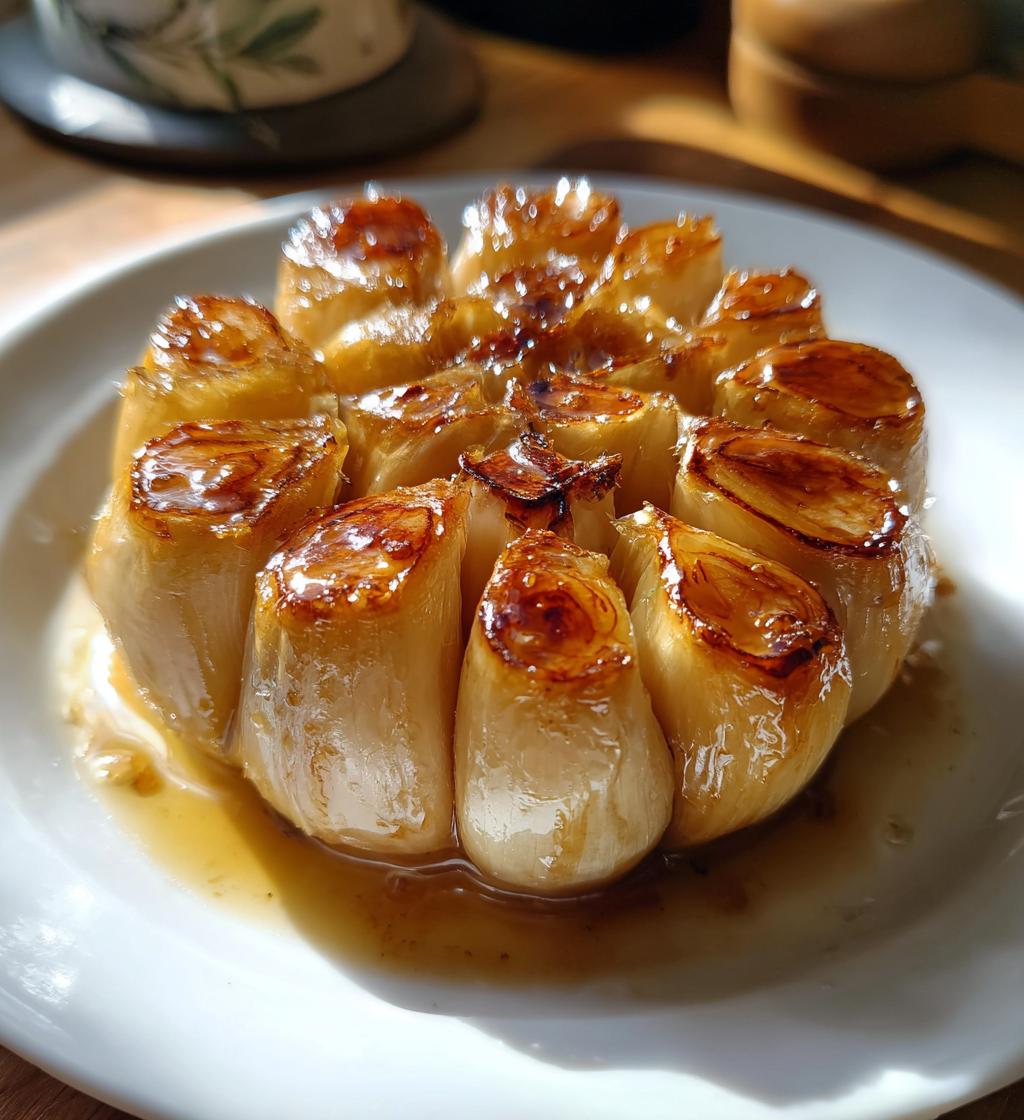
Oh my goodness, if you’ve never roasted garlic, you’re in for a real treat! Roasting garlic transforms those pungent cloves into sweet, creamy nuggets of flavor that can elevate any dish. I can’t tell you how many times I’ve tossed some roasted garlic into pasta, spread it on warm bread, or even stirred it into mashed potatoes for that extra oomph. And let me tell you, roasting garlic in an air fryer is like a little miracle in the kitchen! It’s incredibly easy and quick – just a few minutes of prep, and you’re set. Plus, the air fryer gives it that perfect golden-brown color and rich flavor without heating up the whole house. Trust me, once you try it, you’ll wonder why you didn’t start roasting garlic this way sooner!
Ingredients List
To make the most delicious roasted garlic in the air fryer, you only need a few simple ingredients that pack a big flavor punch!
- 1 head of garlic: Look for a firm, plump head with tight, unbroken skin. This ensures the cloves are fresh and juicy when roasted.
- 1 tablespoon olive oil: Extra virgin olive oil works best for its rich flavor. You’ll drizzle this over the exposed cloves to help them roast beautifully.
- Salt to taste: A pinch of salt enhances the natural sweetness of the garlic. Feel free to add more or less, depending on your preference!
That’s it! With just these three ingredients, you’re ready to create a heavenly addition to many of your favorite dishes.
How to Prepare Instructions
Roasting garlic in an air fryer is straightforward, and I promise you’ll love the results! Here’s a step-by-step guide to ensure you get that perfectly roasted garlic every time.
Preheat the Air Fryer
First things first, preheating your air fryer is crucial! Set it to 400°F (200°C). This step ensures your garlic roasts evenly and gets that beautiful golden-brown color. Preheating only takes a few minutes, so don’t skip it!
Prepare the Garlic
Next up, grab your head of garlic and cut off the top, just enough to expose those lovely cloves inside. I usually take off about half an inch. This exposes the cloves and allows the heat to penetrate better, leading to even roasting. Trust me, you want those cloves to be perfectly soft!
Season the Garlic
Now, drizzle about a tablespoon of olive oil over the exposed cloves. This not only helps them roast nicely but also adds a rich flavor. Sprinkle a pinch of salt on top to enhance the natural sweetness. Feel free to adjust the amount based on your taste – I always say a little salt goes a long way!
Wrap and Roast
Once seasoned, wrap the garlic in aluminum foil, making sure it’s tightly sealed. This keeps all those tasty juices inside while it cooks. Place the wrapped garlic in the air fryer basket – it fits perfectly in there!
Final Steps
Roast the garlic for about 15 to 20 minutes. You’ll know it’s done when it’s soft and golden. To check for doneness, just gently squeeze the bulb; if it gives easily, you’re ready! Let it cool for a few minutes, then squeeze out those delicious roasted cloves. They’ll pop right out, ready to be enjoyed!
Why You’ll Love This Recipe
- Quick Preparation: Roasting garlic in an air fryer is super fast compared to traditional oven methods, saving you time while still delivering that rich flavor.
- Enhanced Flavor: The air fryer caramelizes the garlic beautifully, transforming it into sweet, creamy goodness that elevates any dish.
- Versatile Use: You can use roasted garlic in so many ways – mix it into pasta, spread it on warm bread, or stir it into dips for an extra punch of flavor!
- Health Benefits: Garlic is packed with antioxidants and has been linked to numerous health benefits, including improved heart health and immune support.
- No Mess: Unlike traditional roasting, the air fryer method keeps things tidy. Just wrap it up in foil, and you’re good to go – no baking sheets to scrub afterward!
- Perfect Texture: The air fryer ensures even cooking, giving you that perfect soft texture without any burnt bits.
Tips for Success
Getting perfectly roasted garlic in your air fryer is easier than you might think! Here are some pro tips to ensure you achieve that sweet, creamy goodness every time, plus a few pitfalls to avoid.
- Use Fresh Garlic: Always choose a fresh head of garlic. Look for firm bulbs with tight skin. If it feels soft or has sprouted, it’s best to pass – you want those cloves to be juicy and robust!
- Don’t Over-Season: While a little olive oil and salt go a long way, avoid drowning the garlic. Just a tablespoon of oil and a pinch of salt will do the trick, allowing the natural flavors to shine.
- Check on It: Air fryers can vary in temperature, so keep an eye on your garlic as it roasts. Check at the 15-minute mark to ensure it’s not overcooking. You want that perfect golden color, not burnt bits!
- Wrap Tightly: Make sure to wrap the garlic snugly in aluminum foil. This helps trap steam and keeps the cloves moist. If it’s too loose, you risk drying them out.
- Let it Cool: After roasting, allow the garlic to cool for a few minutes before squeezing out the cloves. This step prevents burns and makes it easier to handle. Plus, you’ll get to enjoy that heavenly aroma as it wafts through your kitchen!
- Experiment with Timing: Depending on your air fryer model, cooking times may vary. If you notice your garlic isn’t quite soft yet after 20 minutes, don’t hesitate to pop it back in for a few more minutes. Just keep testing for that perfect softness!
With these tips, you’ll be well on your way to mastering the art of roasting garlic in your air fryer. Enjoy the deliciousness!
Variations
The beauty of roasting garlic in the air fryer is how versatile it can be! Once you get the hang of the basic recipe, feel free to experiment with different flavors to suit your taste buds. Here are some fun variations to try:
- Herbed Garlic: For an aromatic twist, sprinkle in some fresh herbs like thyme, rosemary, or oregano before wrapping the garlic. These herbs infuse a delightful fragrance that pairs beautifully with the sweetness of the roasted garlic.
- Spicy Kick: If you love a little heat, add a pinch of red pepper flakes or a drizzle of chili oil over the exposed cloves. This will give your roasted garlic a spicy edge that can elevate your dishes!
- Different Oils: While olive oil is a classic choice, you can switch it up with flavored oils like avocado oil or even nut oils like walnut oil for a unique flavor profile. Each oil brings its own character to the garlic!
- Lemon Zest: For a fresh and zesty twist, add a sprinkle of lemon zest on top of the garlic before roasting. The citrus notes complement the garlic’s sweetness and can brighten up any dish!
- Balsamic Glaze: Drizzling a little balsamic glaze over the garlic before roasting adds a sweet and tangy flavor. It caramelizes beautifully, creating an even richer taste that’s perfect for spreading on bread.
- Cheesy Delight: For a decadent variation, sprinkle some grated Parmesan cheese or crumbled feta on the garlic right before wrapping it up. The cheese melts into the cloves, creating a creamy, savory treat!
These variations can take your roasted garlic to the next level, making it a fabulous addition to countless dishes. Feel free to mix and match until you find your favorite combination! Happy roasting!
Storage & Reheating Instructions
Once you’ve enjoyed the heavenly taste of your roasted garlic, you’ll likely have some leftovers. No worries! Storing and reheating roasted garlic is super simple, and it keeps that delicious flavor intact.
To store your leftover roasted garlic, allow it to cool completely first. Then, you can either:
- Refrigerate: Place the roasted garlic cloves in an airtight container or wrap them tightly in plastic wrap. They’ll last in the fridge for up to a week. Just make sure to label it, so you don’t forget about those tasty gems!
- Freeze: If you want to keep them for longer, pop the roasted cloves into a freezer-safe bag or container. They can be frozen for up to three months. Just remember to squeeze out excess air to prevent freezer burn!
Now, when it comes to reheating your roasted garlic, there are a couple of simple methods:
- Microwave: If you’re in a hurry, just pop a few cloves in the microwave for about 10-15 seconds. This will warm them up nicely without drying them out. Just be careful not to overheat; you want them warm, not hot!
- Air Fryer: For that freshly roasted flavor, you can also give them a quick reheat in the air fryer. Set it to 350°F (175°C) and air fry the garlic for about 3-5 minutes. Just keep an eye on them to prevent burning!
With these simple storage and reheating tips, you can enjoy your roasted garlic anytime you crave that rich, flavorful addition to your meals. Happy cooking!
Nutritional Information Section
Here’s the estimated nutritional data for roasted garlic. Keep in mind that these values can vary based on the exact size of your garlic head and the specific ingredients you use.
- Serving Size: 1 clove
- Calories: 4
- Fat: 0g
- Saturated Fat: 0g
- Unsaturated Fat: 0g
- Trans Fat: 0g
- Carbohydrates: 1g
- Fiber: 0g
- Sugar: 0g
- Protein: 0g
- Cholesterol: 0mg
- Sodium: 1mg
This roasted garlic is not just a flavor powerhouse; it’s also a low-calorie addition to your meals! Enjoy all the rich taste without the guilt!
FAQ Section
Got questions about roasting garlic in your air fryer? I’ve got you covered! Here are some common queries and their answers to help you get the most out of this delicious process.
Can I roast garlic in the oven instead of the air fryer?
Absolutely! Roasting garlic in the oven is a classic method. Just wrap it in foil and bake at 400°F (200°C) for about 30-40 minutes. The air fryer is simply a quicker option, but the oven works just as well if you prefer that method.
How do I use roasted garlic in recipes?
The possibilities are endless! You can mash roasted garlic and mix it into butter for a tasty spread, stir it into sauces, or blend it into soups for added depth. It’s also fantastic in dips, dressings, and even on pizza! Just squeeze the cloves out and let your creativity flow!
How should I store leftover roasted garlic?
Once your roasted garlic has cooled, store it in an airtight container in the fridge for up to a week. If you want to keep it longer, you can freeze the individual cloves in a freezer-safe bag or container. They’ll last up to three months – just remember to squeeze out excess air to avoid freezer burn!
Can I roast multiple heads of garlic at once?
Yes, you can! Just make sure your air fryer has enough space. You may need to adjust cooking time slightly, but keep an eye on them to ensure they all roast evenly. Just be cautious not to overcrowd the basket; good airflow is key!
What if my garlic doesn’t seem soft after roasting?
No worries! If it’s not quite soft after the initial roasting time, pop it back in the air fryer for a few more minutes. Every air fryer is a bit different, and some may require slightly longer cooking times. Just check it periodically until you reach that perfect softness!
Can I use roasted garlic in cold dishes?
Definitely! Roasted garlic adds a lovely depth of flavor to cold dishes like salads and dips. Just mash it up and mix it into your favorite spreads, or blend it into a creamy dressing. It’s a great way to add flavor without the sharpness of raw garlic!
If you have more questions or need tips, feel free to reach out! Happy roasting!
Print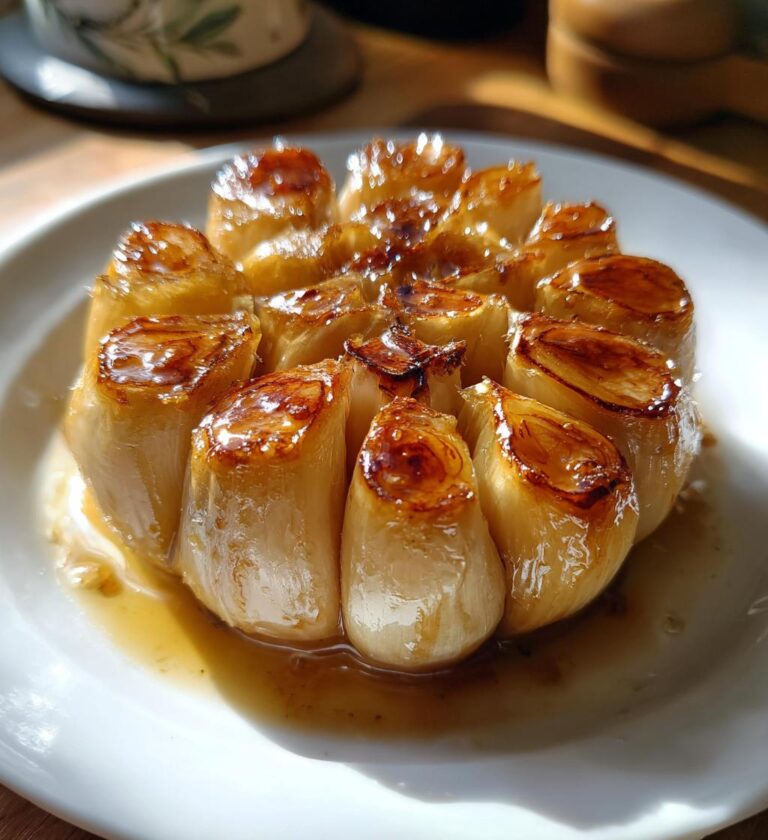
Roasting Garlic in Air Fryer: 7 Quick Tips for Sweet Flavor
Learn how to roast garlic in an air fryer for a rich, flavorful addition to your dishes.
- Total Time: 25 minutes
- Yield: 1 head of roasted garlic 1x
Ingredients
- 1 head of garlic
- 1 tablespoon olive oil
- Salt to taste
Instructions
- Preheat your air fryer to 400°F (200°C).
- Cut the top off the head of garlic to expose the cloves.
- Drizzle olive oil over the exposed cloves.
- Sprinkle salt on top of the garlic.
- Wrap the garlic in aluminum foil.
- Place the wrapped garlic in the air fryer basket.
- Roast for 15-20 minutes until soft and golden.
- Allow to cool slightly before squeezing out the cloves.
Notes
- Store leftover roasted garlic in the fridge for up to a week.
- Use roasted garlic in pasta, spreads, or dips.
- Prep Time: 5 minutes
- Cook Time: 20 minutes
- Category: Condiment
- Method: Air Fryer
- Cuisine: Various
- Diet: Vegetarian
Nutrition
- Serving Size: 1 clove
- Calories: 4
- Sugar: 0g
- Sodium: 1mg
- Fat: 0g
- Saturated Fat: 0g
- Unsaturated Fat: 0g
- Trans Fat: 0g
- Carbohydrates: 1g
- Fiber: 0g
- Protein: 0g
- Cholesterol: 0mg
Keywords: roasting garlic in air fryer