
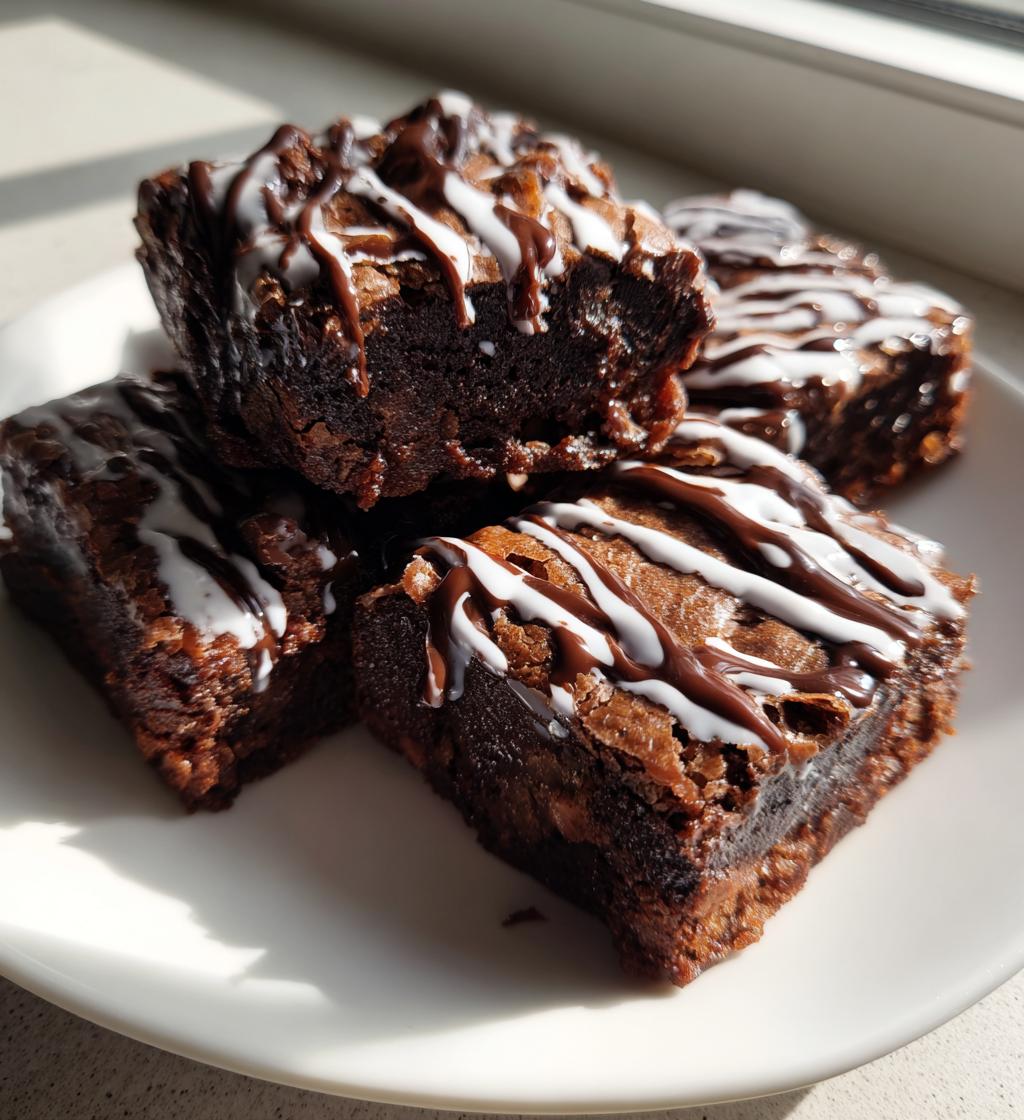
There’s just something so magical about making Valentine’s Day sweets. Whether it’s the sweet aroma wafting through the house or the anticipation of sharing them with loved ones, these treats truly bring joy to the heart! I can still remember the first time I baked for my partner – it was a simple chocolate treat, but their smile made every bit of flour and sugar worth it. Crafting these delightful sweets is not just about the ingredients, but also the love and effort that goes into each bite. Imagine surprising your sweetheart with a homemade dessert that says, “I care!” It’s moments like these that add a sprinkle of sweetness to your Valentine’s celebration, creating memories that last a lifetime. Plus, baking together can be a fun, bonding experience, filled with laughter and a little bit of flour flying everywhere (oops!). So, roll up your sleeves and get ready to whip up some delicious chocolates that will wow your loved ones and show just how much you appreciate them!
Ingredients List
To create these delightful Valentine’s Day sweets, you’ll need a few simple ingredients that come together to form a rich, chocolatey treat. Here’s what you’ll need:
- 1 cup of granulated sugar: This sweetener brings the perfect amount of sweetness to balance the rich chocolate.
- 1/2 cup of unsalted butter (softened): Make sure it’s soft enough to cream easily, adding a luscious richness to your batter.
- 2 cups of all-purpose flour: This forms the base of your sweets, giving them structure and body.
- 1/2 cup of unsweetened cocoa powder: The star of the show, this cocoa powder gives your treats that deep chocolate flavor everyone loves.
- 2 large eggs: These are essential for binding everything together and adding moisture.
- 1 teaspoon of pure vanilla extract: A splash of vanilla enhances the sweetness and adds depth to the flavor.
- 1/2 teaspoon of baking powder: This is the leavening agent that helps your sweets rise and become fluffy.
- 1/4 teaspoon of salt: Just a pinch to balance the sweetness and enhance the overall flavor.
Gather these ingredients, and let’s get ready to bake something truly special for your Valentine!
How to Prepare Valentines Day Sweets
Now that we’ve gathered our ingredients, it’s time to dive into the sweet process of making these delightful Valentine’s Day sweets. Follow along, and don’t worry if things get a little messy – that’s part of the fun!
Preheat the Oven
First things first, you’ll want to preheat your oven to 350°F (175°C). Trust me, this step is crucial! Preheating ensures that your sweets bake evenly, giving them that perfect, moist texture we all love. So, set that oven dial and let it warm up while you prepare the batter!
Cream the Sugar and Butter
Next up, grab a mixing bowl and put your softened butter and granulated sugar together. Using a hand mixer or a sturdy wooden spoon, cream them together until the mixture is light and fluffy. This should take about 2-3 minutes. You’ll know it’s ready when it looks pale and airy, almost like whipped cream! This step is super important because it helps to incorporate air into your batter, making your sweets delightfully soft.
Mix in Eggs and Vanilla
Now, let’s add the eggs and the vanilla extract. Crack those eggs right into the bowl and pour in the vanilla. Mix everything together until it’s well combined and smooth. You want to see a luscious and homogenous mixture – that’s what will help your sweets rise beautifully. Don’t rush this part; a good mix here makes all the difference!
Combine Dry Ingredients
In a separate bowl, mix together the all-purpose flour, unsweetened cocoa powder, baking powder, and salt. Whisk these dry ingredients thoroughly to ensure there are no lumps of cocoa powder hiding in there. This step is key for even distribution of flavors and leavening – we want every bite to be deliciously chocolatey!
Combine Wet and Dry Ingredients
Now, it’s time to bring everything together. Gradually add the dry mixture to the wet ingredients, folding gently with a spatula or wooden spoon. Take your time here; you want to avoid overmixing, which can lead to dense sweets. Just mix until you can’t see any more flour – it’s okay if there are a few lumps. That’s what keeps your treats tender and soft!
Pour and Bake
Once your batter is ready, pour it into a greased baking pan. Make sure to spread it out evenly so it bakes uniformly. Pop it into the preheated oven and bake for about 25-30 minutes. To check for doneness, stick a toothpick in the center – it should come out clean! If it’s still wet, give it a few more minutes. The aroma wafting through your kitchen will be heavenly!
Cooling Instructions
After baking, it’s super important to let your sweets cool in the pan for about 10 minutes before transferring them to a wire rack. This cooling time helps them set properly and makes them easier to cut into squares later. Plus, the anticipation will make them taste even better! Once they’re cool, you’re ready to serve and enjoy your delightful Valentine’s Day sweets.
Why You’ll Love This Recipe
There are so many reasons to fall in love with these Valentine’s Day sweets! Here are just a few that make this recipe a must-try:
- Quick preparation time: With just 15 minutes of prep, you’ll have these delicious treats in the oven in no time!
- Easy to follow: The steps are simple and straightforward, making it perfect for both beginner bakers and seasoned pros.
- Rich chocolate flavor: The combination of cocoa powder and sugar creates a decadent chocolate experience that will satisfy any sweet tooth.
- Perfect for sharing: These sweets yield 12 servings, making them an ideal treat for sharing with friends, family, or that special someone.
- Adaptable for decorating: Feel free to get creative! You can top them with icing, sprinkles, or even fresh fruit for a festive touch.
Trust me, once you try these, they’ll become a staple in your Valentine’s Day celebrations!
Tips for Success
To ensure your Valentine’s Day sweets turn out perfectly every time, I’ve gathered a few pro tips that will help you bake like a champ! Follow these golden rules, and you’ll impress everyone with your delicious creations!
Avoid Overmixing
This is a crucial tip! When you combine your wet and dry ingredients, mix just until you see no more flour streaks. Overmixing can lead to dense and chewy sweets instead of the tender, soft texture we’re aiming for. Think of it as a gentle hug for your batter – just enough to bring everything together without squeezing out all the fluffiness!
Ensuring the Right Consistency
When your batter is ready, it should be thick but pourable. If it seems too dry or crumbly, you can add a splash of milk or a little melted butter to loosen it up. Just remember, the batter will thicken slightly as it sits, so don’t be afraid to adjust it before pouring into the pan. A smooth, slightly glossy batter is what you’re after!
Tips for Decorating
Now, let’s talk about adding that sweet finishing touch! Once your Valentine’s Day sweets have cooled, you can dress them up however you like. A simple dusting of powdered sugar looks elegant and is oh-so-easy. If you want to go all out, try a luscious chocolate ganache or a colorful icing drizzle. You could even use fresh berries or edible flowers for a romantic flair! Just let your creativity shine through, and have fun with it – after all, these treats are all about spreading love!
With these tips in your back pocket, you’re all set to create the most delightful sweets for your Valentine’s celebration. Happy baking!
Storage & Reheating Instructions
Once you’ve whipped up your delicious Valentine’s Day sweets, you may wonder how to keep them fresh for as long as possible. Don’t worry, I’ve got you covered! The key to maintaining their soft, delightful texture is proper storage.
First things first, let your sweets cool completely before storing them. This helps prevent moisture buildup, which can lead to sogginess. Once they’re cool, place them in an airtight container. I love using clear containers so I can sneak a peek at those chocolatey squares without opening them up! If you’re stacking them, consider placing a piece of parchment paper between layers to keep them from sticking together.
These tasty treats can last up to a week at room temperature. If you want to keep them for an even longer time, you can pop them in the fridge, where they’ll stay fresh for about two weeks. Just remember to let them come to room temperature before diving in, as the flavors truly shine when they’re not too cold!
If you find yourself with leftovers (which can be a challenge when they’re this good!), you can also freeze these sweets for later enjoyment. Just wrap them tightly in plastic wrap, then place them in a freezer-safe bag or container. They’ll keep well in the freezer for about three months. When you’re ready to indulge, let them thaw in the fridge overnight, or simply leave them out at room temperature for a few hours. You can even warm them in the microwave for a few seconds to bring back that fresh-baked goodness!
So go ahead, bake away, and don’t stress about leftovers – with these storage tips, your Valentine’s Day sweets will always be ready to impress!
Nutritional Information
When it comes to enjoying delicious Valentine’s Day sweets, it’s always good to know what you’re indulging in! Keep in mind that the nutritional values can vary based on the specific ingredients and brands you use, so the numbers below are approximate. Here’s an estimated breakdown per serving (1 piece):
- Calories: 150
- Total Fat: 7g
- Saturated Fat: 4g
- Unsaturated Fat: 2g
- Trans Fat: 0g
- Cholesterol: 30mg
- Sodium: 50mg
- Total Carbohydrates: 20g
- Dietary Fiber: 1g
- Sugars: 10g
- Protein: 2g
While these treats are certainly a delightful indulgence, moderation is key. Enjoy them as part of a balanced diet, and share them with your loved ones to spread the joy even further! Happy baking and happy Valentine’s Day!
FAQ Section
As you embark on your sweet journey of making Valentine’s Day sweets, you might have a few questions along the way. Don’t worry; I’ve got you covered! Here are some common queries and their answers:
Can I use different types of flour?
Absolutely! You can experiment with different flours like whole wheat or almond flour, but keep in mind that this might change the texture and flavor a bit. If you swap for whole wheat, your sweets may have a denser texture. Just make sure to check the measurements, as different flours may absorb moisture differently!
How can I make these sweets gluten-free?
To make these Valentine’s Day sweets gluten-free, you can use a gluten-free all-purpose flour blend. Most blends come with a mix of flours and starches that mimic the properties of regular flour. Just ensure that your cocoa powder and any other ingredients are also gluten-free. It’s a fun way to include everyone in the celebration!
What is the best way to decorate these sweets?
Oh, the decorating options are endless! For a simple yet elegant touch, dust them with powdered sugar or cocoa powder. If you’re feeling creative, try a chocolate ganache drizzle or a colorful icing. Fresh berries or edible flowers can also add a romantic flair. Remember, it’s all about showcasing your personality and making them visually appealing!
Can I freeze them?
Yes, you can definitely freeze these sweets! Just wrap them tightly in plastic wrap and place them in a freezer-safe container. They’ll keep well for about three months. When you’re ready to enjoy them, let them thaw in the fridge overnight, or you can warm them up in the microwave for a few seconds. They’ll taste just as delightful as the day you baked them!
If you have any more questions or need further tips, feel free to reach out. Happy baking, and enjoy every sweet moment!
Serving Suggestions
To elevate your delightful Valentine’s Day sweets and create a complete dessert experience, consider serving them alongside some delicious accompaniments! Here are a few ideas that will surely impress your loved ones:
- Fresh Fruit: Pair your sweets with a side of fresh strawberries, raspberries, or even a medley of berries. The natural sweetness and slight tartness of the fruit beautifully balance the rich chocolate flavors!
- Whipped Cream: A dollop of freshly whipped cream can add a light and airy touch to your sweets. You can even sweeten it with a touch of vanilla or a hint of cocoa for a delightful twist!
- Ice Cream: Who can resist a scoop of creamy vanilla or chocolate ice cream on the side? The cold creaminess contrasts wonderfully with the warm, fudgy texture of the sweets.
- Chocolate Sauce: Drizzle some warm chocolate sauce over the top for an indulgent touch. It’s like a chocolate lover’s dream come true when paired with these already chocolaty treats!
- Caramel Sauce: If you’re in the mood for something a bit different, a drizzle of caramel sauce can add a lovely sweetness that complements the chocolate perfectly.
With these serving suggestions, you’ll create a sweet experience that your Valentine won’t soon forget. So go ahead, set the table, and get ready to enjoy these treats in style!
Print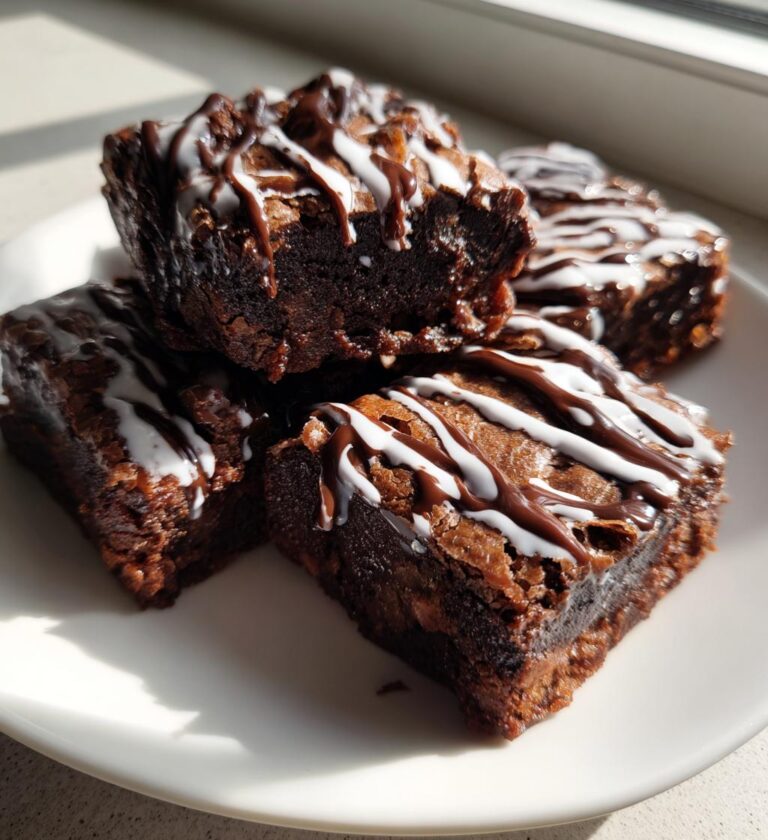
Valentines Day Sweets to Create Heartfelt Moments Together
Delicious sweets perfect for Valentine’s Day.
- Total Time: 45 minutes
- Yield: 12 servings 1x
Ingredients
- 1 cup of sugar
- 1/2 cup of butter
- 2 cups of all-purpose flour
- 1/2 cup of cocoa powder
- 2 eggs
- 1 teaspoon of vanilla extract
- 1/2 teaspoon of baking powder
- 1/4 teaspoon of salt
Instructions
- Preheat your oven to 350°F (175°C).
- Cream together sugar and butter.
- Add eggs and vanilla, mix well.
- In another bowl, combine flour, cocoa, baking powder, and salt.
- Gradually mix dry ingredients into wet ingredients.
- Pour batter into a greased baking pan.
- Bake for 25-30 minutes or until a toothpick comes out clean.
- Let cool before serving.
Notes
- Store leftovers in an airtight container.
- These can be decorated with icing for a festive touch.
- Prep Time: 15 minutes
- Cook Time: 30 minutes
- Category: Dessert
- Method: Baking
- Cuisine: American
- Diet: Vegetarian
Nutrition
- Serving Size: 1 piece
- Calories: 150
- Sugar: 10g
- Sodium: 50mg
- Fat: 7g
- Saturated Fat: 4g
- Unsaturated Fat: 2g
- Trans Fat: 0g
- Carbohydrates: 20g
- Fiber: 1g
- Protein: 2g
- Cholesterol: 30mg
Keywords: valentines day sweets