
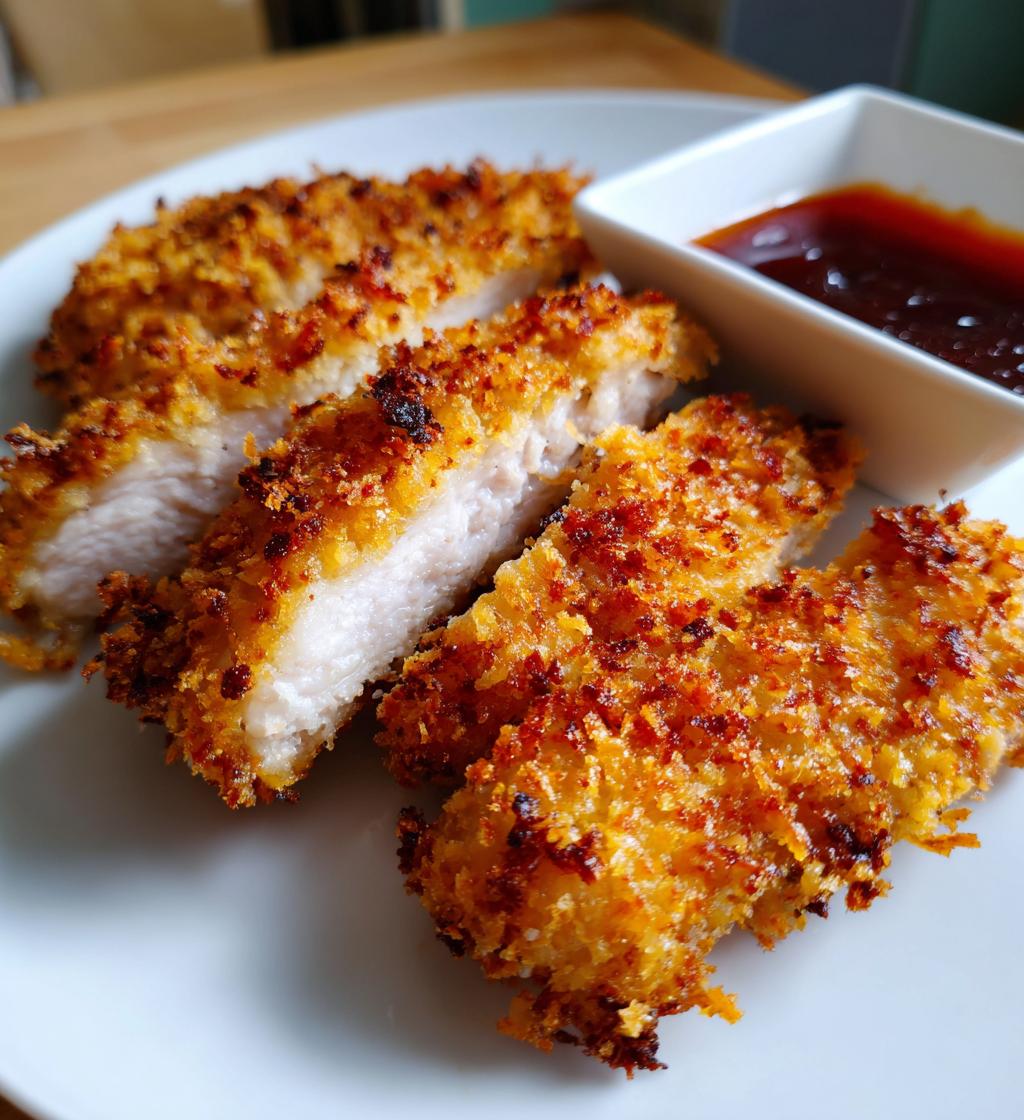
If you’re on the hunt for a dish that’s crispy, juicy, and downright delicious, let me introduce you to air fryer chicken katsu! This healthier twist on the classic Japanese comfort food delivers that golden crunch we all crave while cutting back on oil. Just picture this: tender chicken fillets coated in crispy panko breadcrumbs, cooked to perfection in the air fryer. It’s like a hug for your taste buds! I remember the first time I tried making this at home—my kitchen filled with mouthwatering aromas, and my family couldn’t wait to dig in. It’s become a staple in our house because not only is it quick to whip up, but it also feels lighter than its deep-fried counterpart. Trust me, once you try this air fryer chicken katsu, you’ll be hooked! You’ll savor every bite while feeling good about what you’re eating. Let’s get cooking!
Ingredients for Air Fryer Chicken Katsu
Gathering the right ingredients is key to making the best air fryer chicken katsu. Here’s what you’ll need:
- 2 chicken fillets: Look for boneless, skinless chicken fillets for the juiciest results.
- 1 cup panko breadcrumbs: These Japanese-style breadcrumbs will give you that perfect crunch!
- 1/2 cup all-purpose flour: This is essential for the first step in creating that crispy coating.
- 2 eggs: Beaten eggs help the breadcrumbs stick to the chicken beautifully.
- 1 tablespoon soy sauce: Adds a depth of flavor that elevates the dish.
- 1 tablespoon mirin: This sweet rice wine brings a touch of sweetness to balance the savory elements.
- Salt to taste: Just a pinch will enhance all the flavors!
- Pepper to taste: Freshly cracked black pepper adds a hint of warmth.
Make sure you have everything ready before you start cooking! This will help the process go smoothly and keep the kitchen chaos to a minimum.
How to Prepare Air Fryer Chicken Katsu
Now that you have all your ingredients ready, let’s get down to the fun part—making that crispy, juicy chicken katsu! Follow these simple steps, and you’ll have a delicious dish in no time.
Step 1: Preheat the Air Fryer
First things first, we need to preheat the air fryer to 400°F (200°C). Preheating is important because it ensures that the chicken cooks evenly and gets that gorgeous golden color. Just pop it on for about 5 minutes before you start prepping your chicken. You’ll be amazed at how much difference this makes!
Step 2: Season the Chicken
Next, grab those chicken fillets and give them some love with salt and pepper. Don’t be shy! A good sprinkle on both sides enhances the flavor and really makes every bite sing. I like to rub the seasoning in a bit to make sure it sticks and penetrates the meat. Trust me, this little step goes a long way!
Step 3: Prepare the Breading Station
Now, let’s set up our breading station. You’ll need three separate bowls: one for the all-purpose flour, one for the egg mixture (where you’ll combine the beaten eggs, soy sauce, and mirin), and another for the panko breadcrumbs. This setup makes it super easy to coat the chicken without making a mess. Plus, it keeps things organized, which is a lifesaver when you’re in the zone!
Step 4: Coat the Chicken
Here comes the fun part—coating the chicken! Start by dredging each chicken fillet in the flour, shaking off any excess. Next, dip it into the egg mixture, letting the extra drip off. Finally, roll it in the panko breadcrumbs, pressing gently to ensure an even coat. Wow, look at that crunch waiting to happen! Make sure every inch is covered, as this will give you that satisfying texture we all love.
Step 5: Cook in the Air Fryer
Carefully place the coated chicken fillets in the air fryer basket, making sure they’re not overcrowded. Cook them for about 12-15 minutes, flipping them halfway through to ensure they cook evenly on both sides. Keep an eye on them, and check for an internal temperature of 165°F (75°C). You want them perfectly cooked, not overdone!
Step 6: Rest and Serve
Once your chicken katsu is cooked to perfection, remove it from the air fryer and let it rest for a few minutes. This step is crucial because it allows the juices to redistribute, keeping the chicken juicy and tender. You can serve it with a drizzle of tonkatsu sauce, and if you’re feeling fancy, a side of fresh salad or rice makes for a complete meal. Enjoy every crispy bite! You’re going to love this dish!
Nutritional Information for Air Fryer Chicken Katsu
When it comes to enjoying air fryer chicken katsu, it’s always nice to know what’s on your plate! Here’s an estimated breakdown of the nutritional values per serving, which is one piece of chicken katsu:
- Calories: Approximately 350
- Protein: About 30g
- Fat: Roughly 10g
- Carbohydrates: Around 40g
- Sugar: 1g
- Sodium: Approximately 600mg
Keep in mind that these values are estimates and can vary based on specific ingredients used. It’s always good to enjoy this delicious dish in moderation, especially if you’re pairing it with sides! But hey, you can feel good about savoring every crispy bite!
Tips for Success with Air Fryer Chicken Katsu
To make sure your air fryer chicken katsu turns out absolutely perfect, I’ve got a few handy tips to share! First, always use fresh panko breadcrumbs for that unbeatable crunch. If they’re stale, you won’t get that satisfying texture we all crave. Also, don’t skip the preheating step—it really helps achieve that golden exterior!
Another common pitfall is overcrowding the air fryer basket. I know it’s tempting to fit everything in at once, but giving each piece some space allows for even cooking and crispiness. Trust me, you’ll thank yourself later! And when it comes to seasoning, don’t be shy! A good sprinkle of salt and pepper goes a long way in enhancing the flavors. Finally, letting the chicken rest after cooking is essential for keeping it juicy. These little steps make a big difference, so get ready to impress your taste buds!
Variations of Air Fryer Chicken Katsu
One of the best things about air fryer chicken katsu is how versatile it can be! If you’re looking to switch things up, consider experimenting with different seasonings. For a spicy kick, add some chili powder or cayenne pepper to the flour mixture. You could also try a blend of garlic powder and onion powder for an extra layer of flavor.
Another delicious option is to change up the sauces you pair with your chicken katsu. While traditional tonkatsu sauce is fantastic, you might enjoy a sweet and tangy teriyaki glaze, or even a creamy sriracha mayo for a modern twist. If you want a lighter touch, a drizzle of sesame oil and a squeeze of fresh lime can brighten the dish beautifully!
Don’t forget about the sides, too! Try serving it over a bed of stir-fried vegetables or alongside a refreshing cucumber salad. With these variations, you’ll keep this dish exciting every time!
Serving Suggestions for Air Fryer Chicken Katsu
When it comes to serving your air fryer chicken katsu, the options are endless! I love pairing it with a crisp side salad of mixed greens, cucumbers, and a light sesame dressing for a refreshing contrast. If you’re craving something heartier, steamed rice or fluffy jasmine rice makes the perfect base to soak up those delicious flavors.
For a bit of extra flair, consider serving it with a side of pickled vegetables; they add a delightful tang that complements the richness of the chicken. And don’t forget to drizzle some tonkatsu sauce over the top for that authentic touch! Enjoy your meal!
FAQ about Air Fryer Chicken Katsu
I know you might have a few questions about this amazing air fryer chicken katsu, so let’s dive into some common ones!
How long does it take to cook air fryer chicken katsu?
The cooking time typically ranges from 12 to 15 minutes at 400°F (200°C), but it’s always good to check the internal temperature to ensure it reaches 165°F (75°C) for safety. Flipping the chicken halfway through helps achieve that perfect golden color on both sides!
Can I store leftovers?
Absolutely! If you have any leftovers, let them cool completely before transferring them to an airtight container. They can be stored in the refrigerator for up to 3 days. Just reheat them in the air fryer for a few minutes to regain that crispy texture!
What can I substitute for panko breadcrumbs?
If you don’t have panko breadcrumbs, you can use regular breadcrumbs, though the texture might be a bit different. Alternatively, crushed cornflakes or even ground almonds can work in a pinch for that crunch!
Print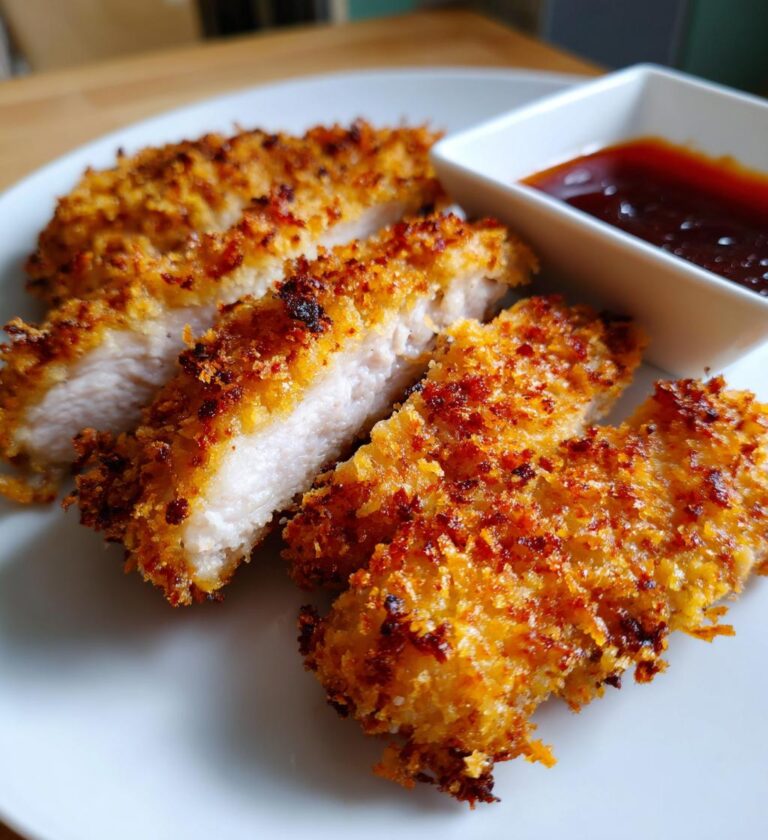
air fryer chicken katsu: 5 reasons you’ll crave this dish
Crispy and juicy air fryer chicken katsu, a healthier take on the classic Japanese dish.
- Total Time: 30 minutes
- Yield: 2 servings 1x
Ingredients
- 2 chicken fillets
- 1 cup panko breadcrumbs
- 1/2 cup all-purpose flour
- 2 eggs
- 1 tablespoon soy sauce
- 1 tablespoon mirin
- Salt to taste
- Pepper to taste
Instructions
- Preheat the air fryer to 400°F (200°C).
- Season chicken fillets with salt and pepper.
- In a bowl, mix soy sauce and mirin with beaten eggs.
- Coat chicken in flour, dip in egg mixture, then coat with panko breadcrumbs.
- Place chicken in the air fryer basket.
- Cook for 12-15 minutes, flipping halfway through.
- Check for an internal temperature of 165°F (75°C).
- Remove and let it rest for a few minutes before serving.
Notes
- Serve with tonkatsu sauce.
- Pair with a side salad for a complete meal.
- Prep Time: 15 minutes
- Cook Time: 15 minutes
- Category: Main Dish
- Method: Air Frying
- Cuisine: Japanese
- Diet: Gluten Free
Nutrition
- Serving Size: 1 piece
- Calories: 350
- Sugar: 1g
- Sodium: 600mg
- Fat: 10g
- Saturated Fat: 2g
- Unsaturated Fat: 8g
- Trans Fat: 0g
- Carbohydrates: 40g
- Fiber: 2g
- Protein: 30g
- Cholesterol: 120mg
Keywords: air fryer, chicken katsu, healthy recipe